User Management
The User Management chapter guides users through account setup, profile completion, and KYC processes. It covers creating an account with basic information, completing user details, and fulfilling KYC requirements by uploading necessary documents. These steps ensure users establish secure and compliant profiles, enhancing trust and security on the platform. By following the outlined procedures, users can effectively manage their accounts, comply with regulatory standards, and optimize their experience within the platform.
How to Create a New Account?
- Click on the Register button to sign up for XPRIZO.
*Note: To create an account in the Test environment click here.*

- To establish your account, complete the required information for email registration. Alternatively, for registration via mobile number, toggle the button
 accordingly. Users may also input a referral code if referred by someone.

- Enter the code displayed to validate the email or mobile number.

-
Subsequently, input the One-Time Password sent to either your email or mobile number to finalize the validation process.

-
Upon successful registration, users will be logged in and prompted to choose their country of residence before gaining access to their wallets.

-
Choose your country from the dropdown menu, and affirm your selection by clicking the "Confirm" button.

-
After selecting the country, users need to add a new wallet by clicking on the "Add New Wallet" button.

-
Following that, users should choose the wallet corresponding to the desired currency and then click on "Add New Wallet" to incorporate the wallet in the selected currency.

- Upon successfully adding the wallet, users will be directed to the home screen, providing them access to the wallet.

How to Fill User Details?
- Login to your account, and go to settings by clicking on the initial of your account in the top right corner.

- Go to the "Details" tab to provide complete full name and address information.

-
Once you have entered information in both the Full Name and Address fields, click on "Save Data" to update the entered information.

How to Complete KYC?
KYC
-
Login to your account and access settings by clicking on your account's initial in the upper right corner.
-
Navigate to the KYC tab in the navigation bar and click on "New Document" to initiate the KYC process.

-
Choose the option that best suits your needs and proceed by clicking on "Next."

-
Choose the desired document to proceed, then click "Next." To make changes, click on the back arrow
 icon to modify your selection.
-
Click on the upload
 button to choose the file for upload or click on the
  to remove the selected file. Once selected, click the "Submit" button to finalize the KYC process.


-
After completion, the KYC process will be in progress, and the back office will verify the uploaded documents.

-
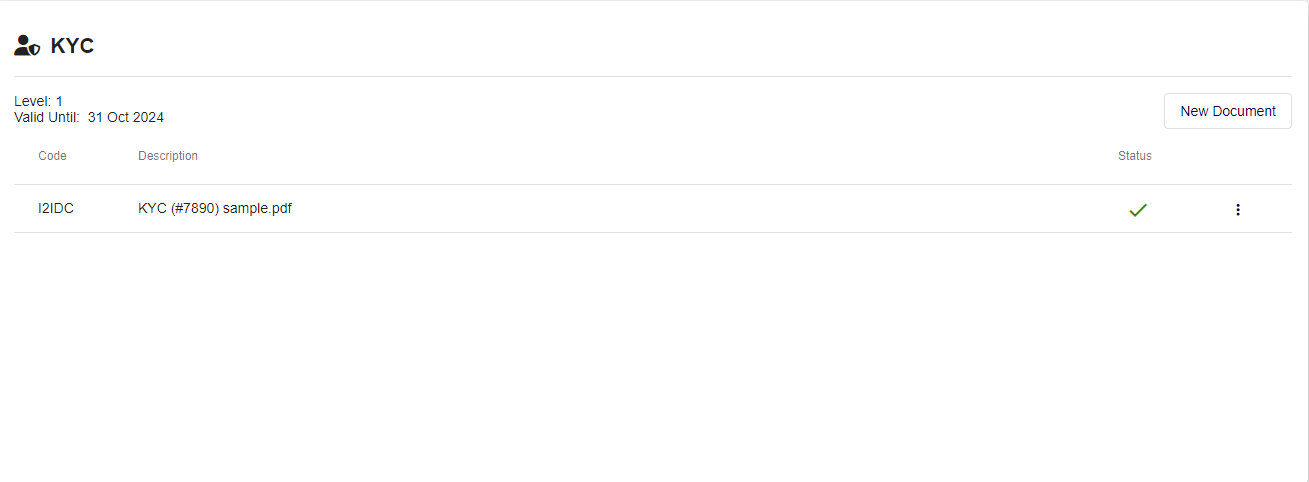
Click on the ellipsis button
 to preview the uploaded file or to delete the uploaded file.


-
Once the status changes to
 in KYC, it will be assigned a level along with a valid until date. The user can now proceed to send a request to become a merchant.