# Wallet Management
This chapter provides users with comprehensive guidance on managing their digital wallets. Users can learn how to add new wallets, facilitating transactions in multiple currencies. Additionally, the chapter covers instructions on topping up wallets seamlessly using UPI for convenient fund transfers. Users can also explore features for sending money to others securely, ensuring hassle-free peer-to-peer transactions.
# How to Add a New Wallet?
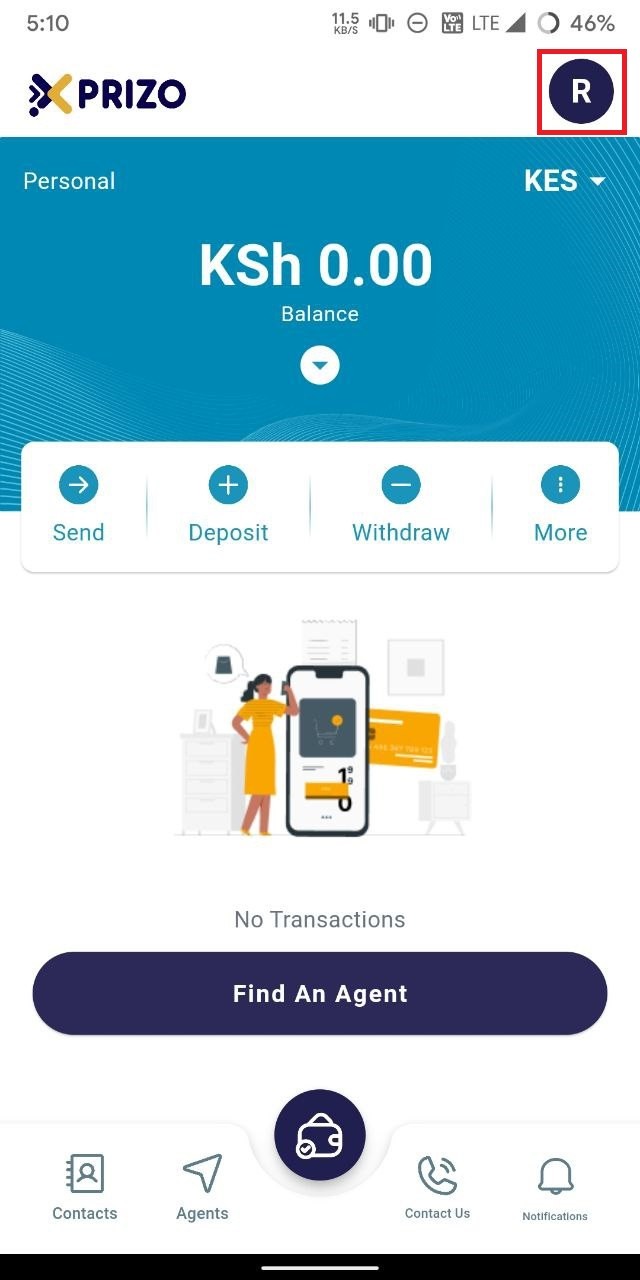
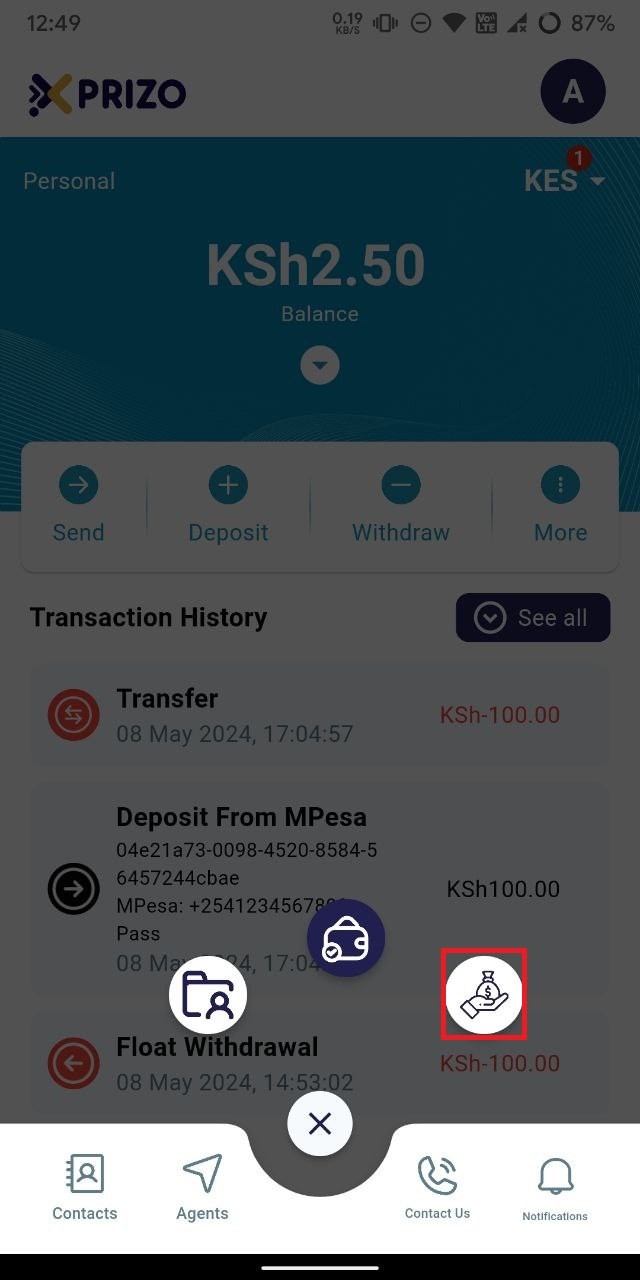
- To add a new wallet, click on the profile icon located in the top right corner to access the user's account settings.
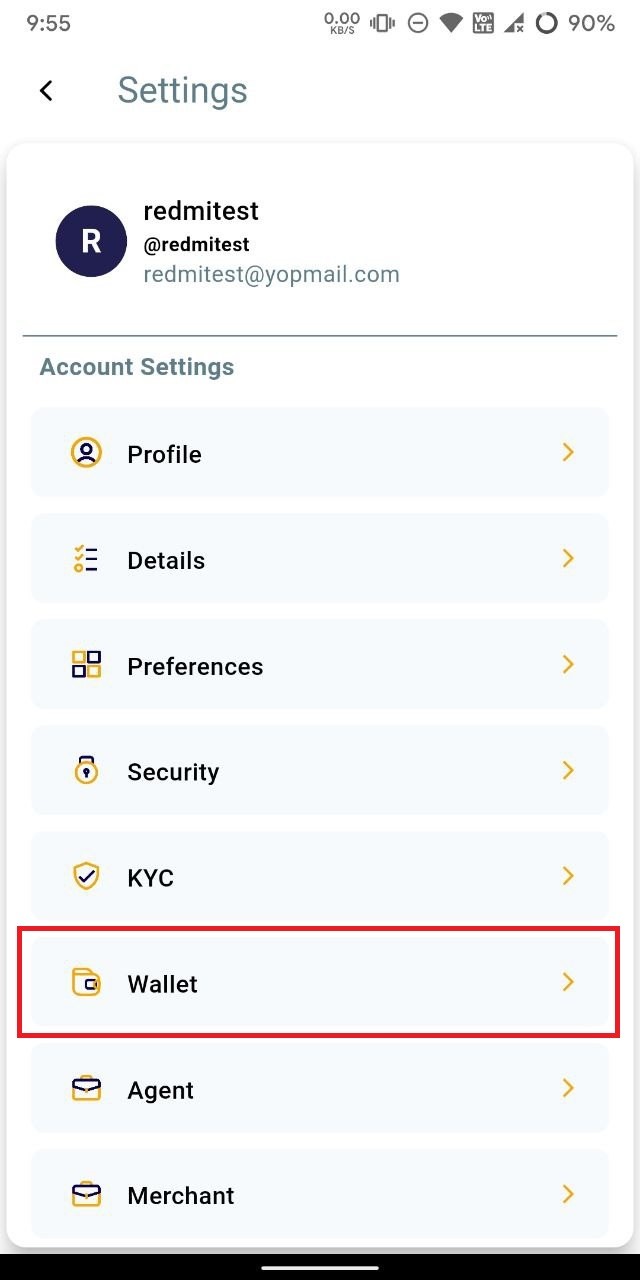
- Click on the "Wallet" option to access and manage the wallets.
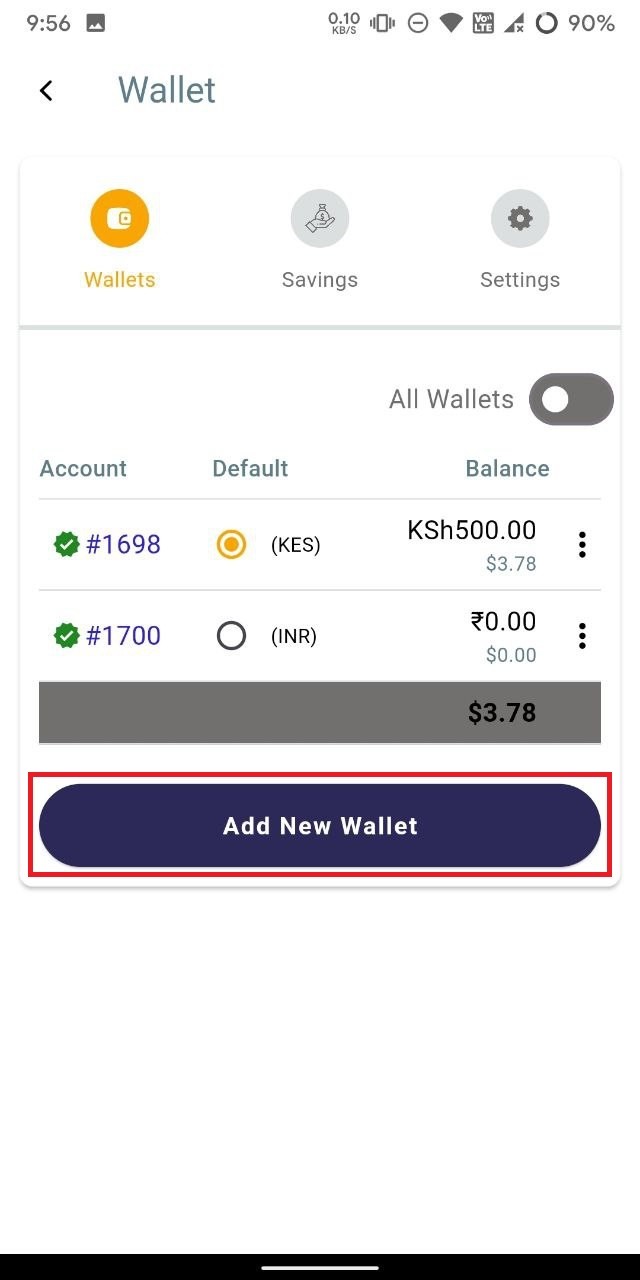
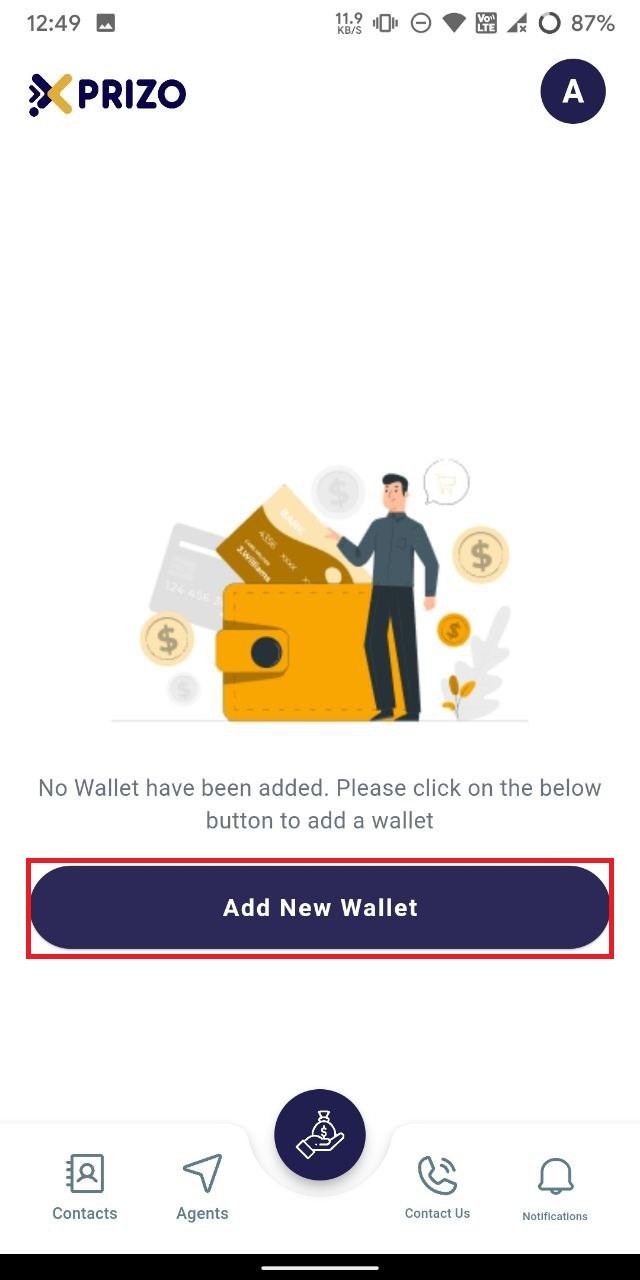
- To add a new wallet, click on the "Add New Wallet" button.
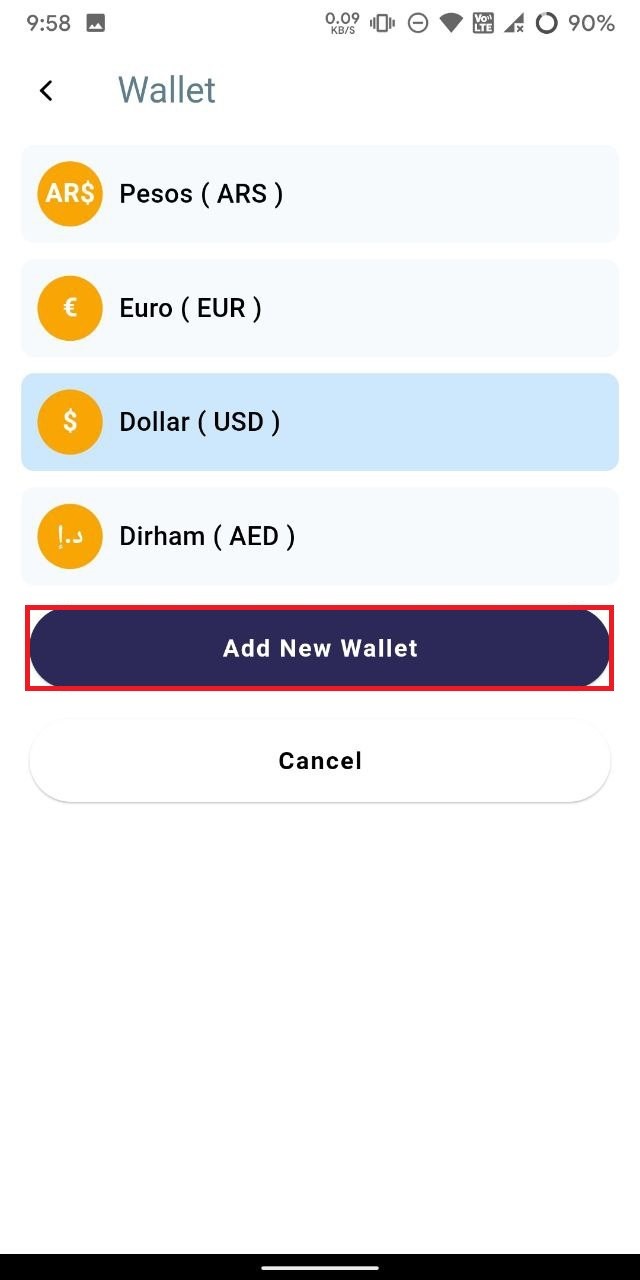
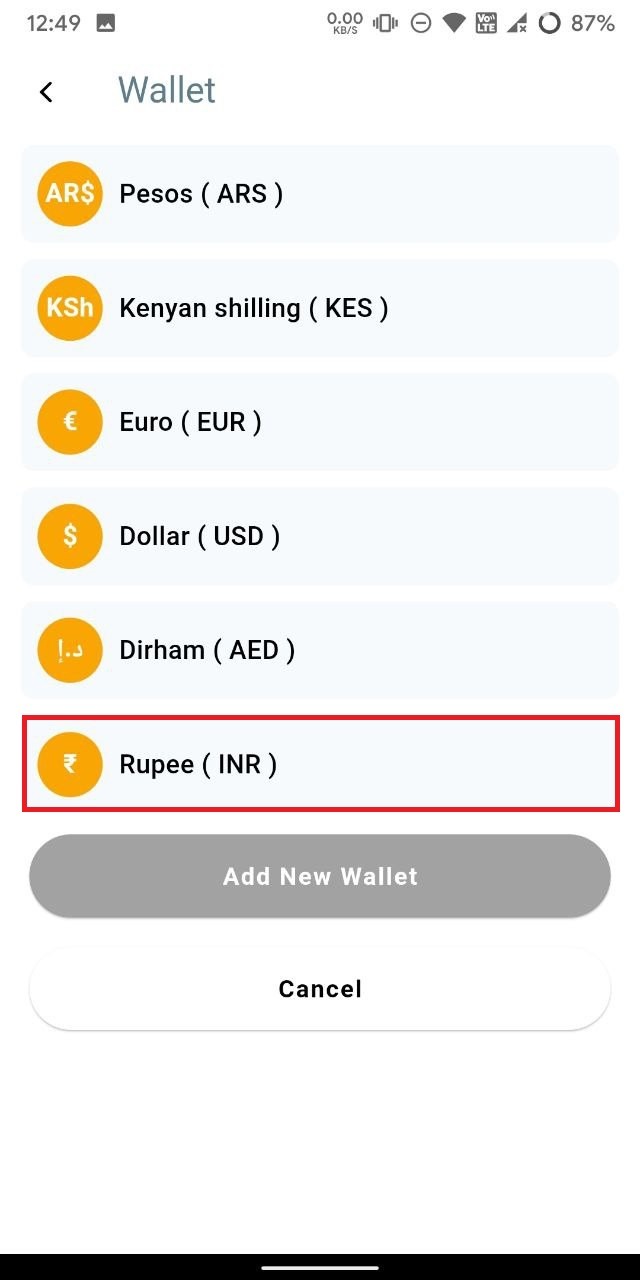
- Select the currency for the new wallet, then click on "Add New Wallet" to create the wallet for the selected currency. Alternatively, you can select "Cancel" to discard adding a new wallet.
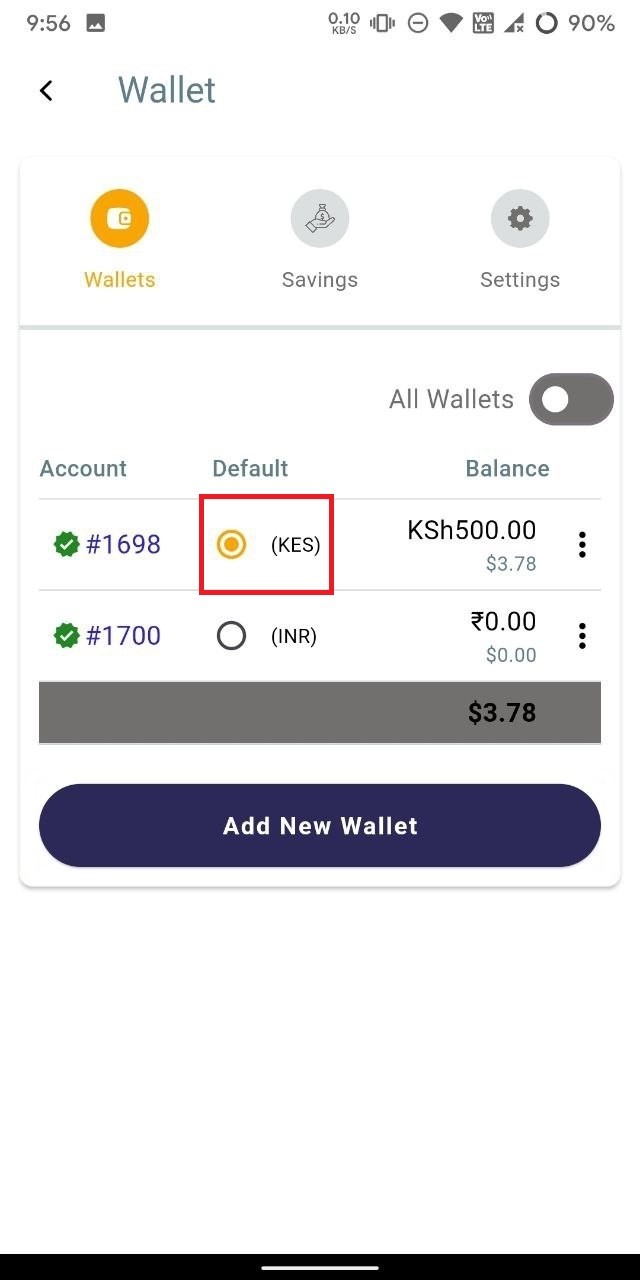
- To set any wallet as the default, simply click on the radio button next to that wallet to designate it for your transaction activities.
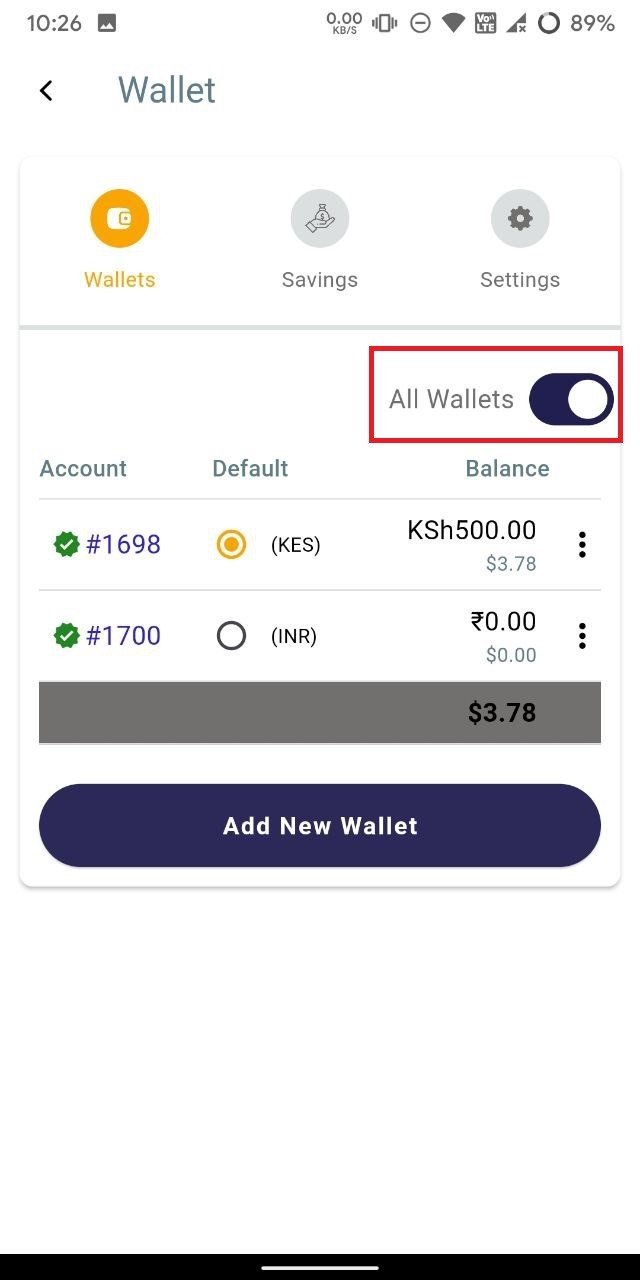
- To view all wallets, toggle the "All Wallets" button to the "on" position to display all available wallets.
# How to Top Up Wallet using UPI?
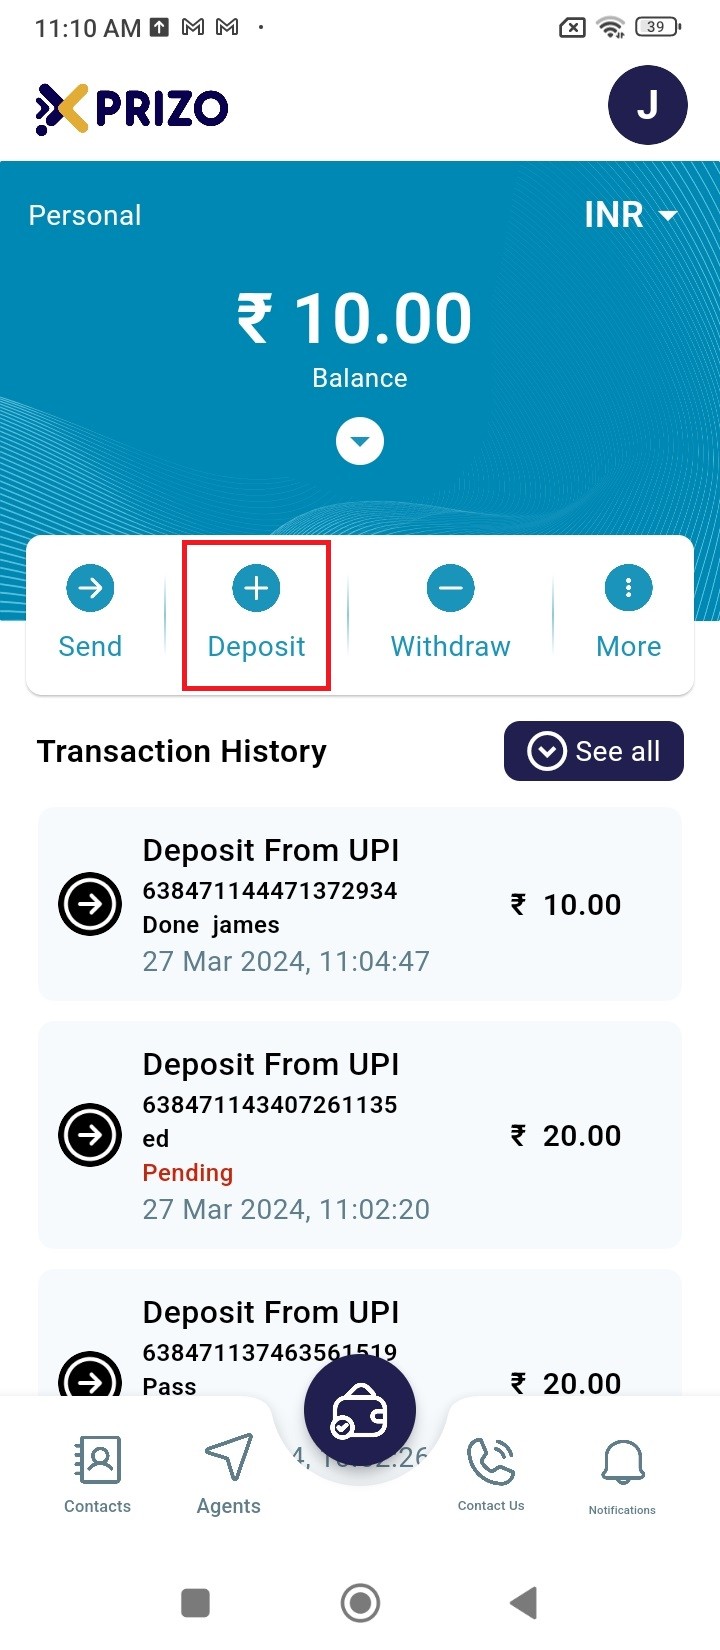
- Sign in to your account with your credentials, then click on "Deposit" to add funds to your wallet.
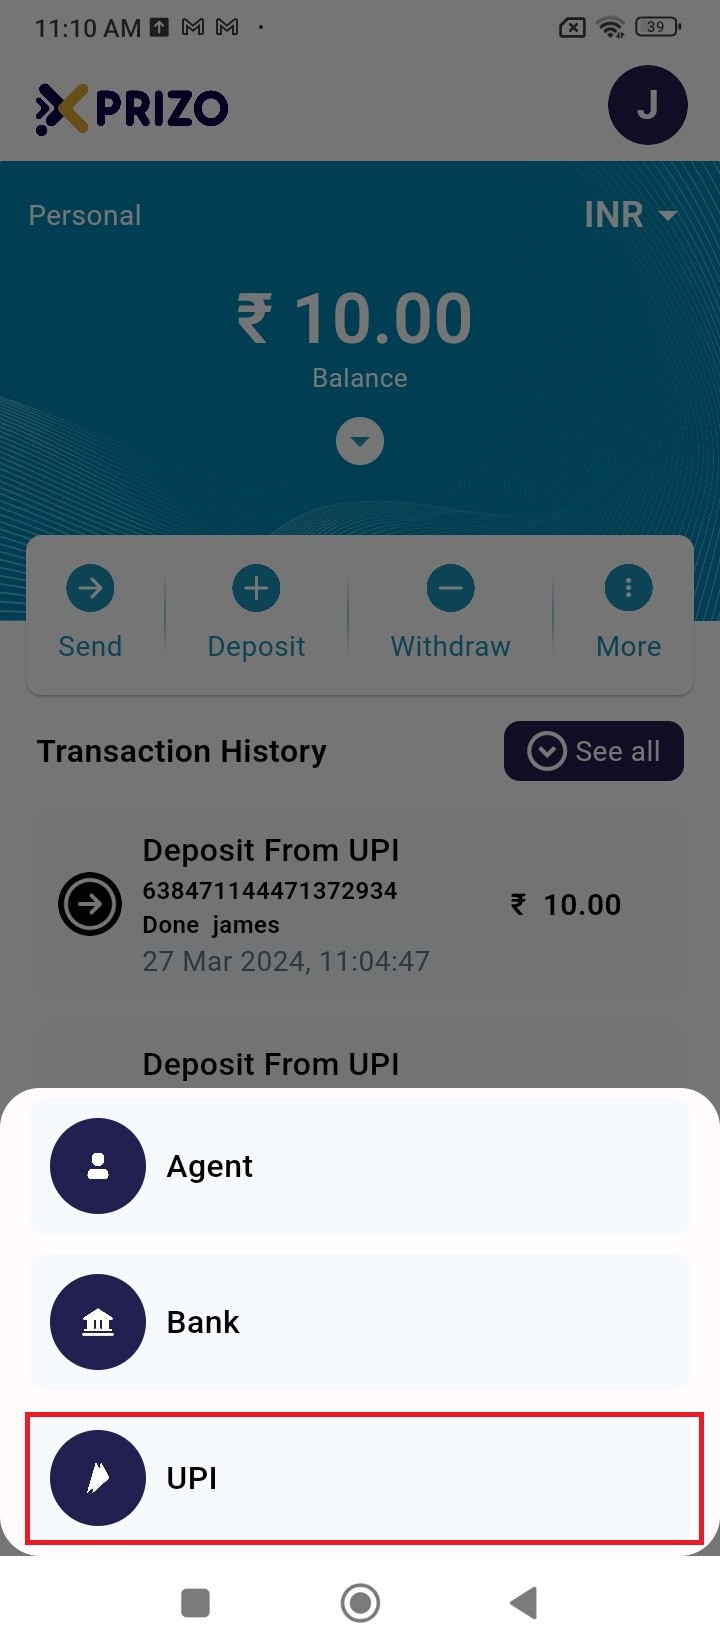
- Choose the UPI option to proceed with the transaction using UPI.
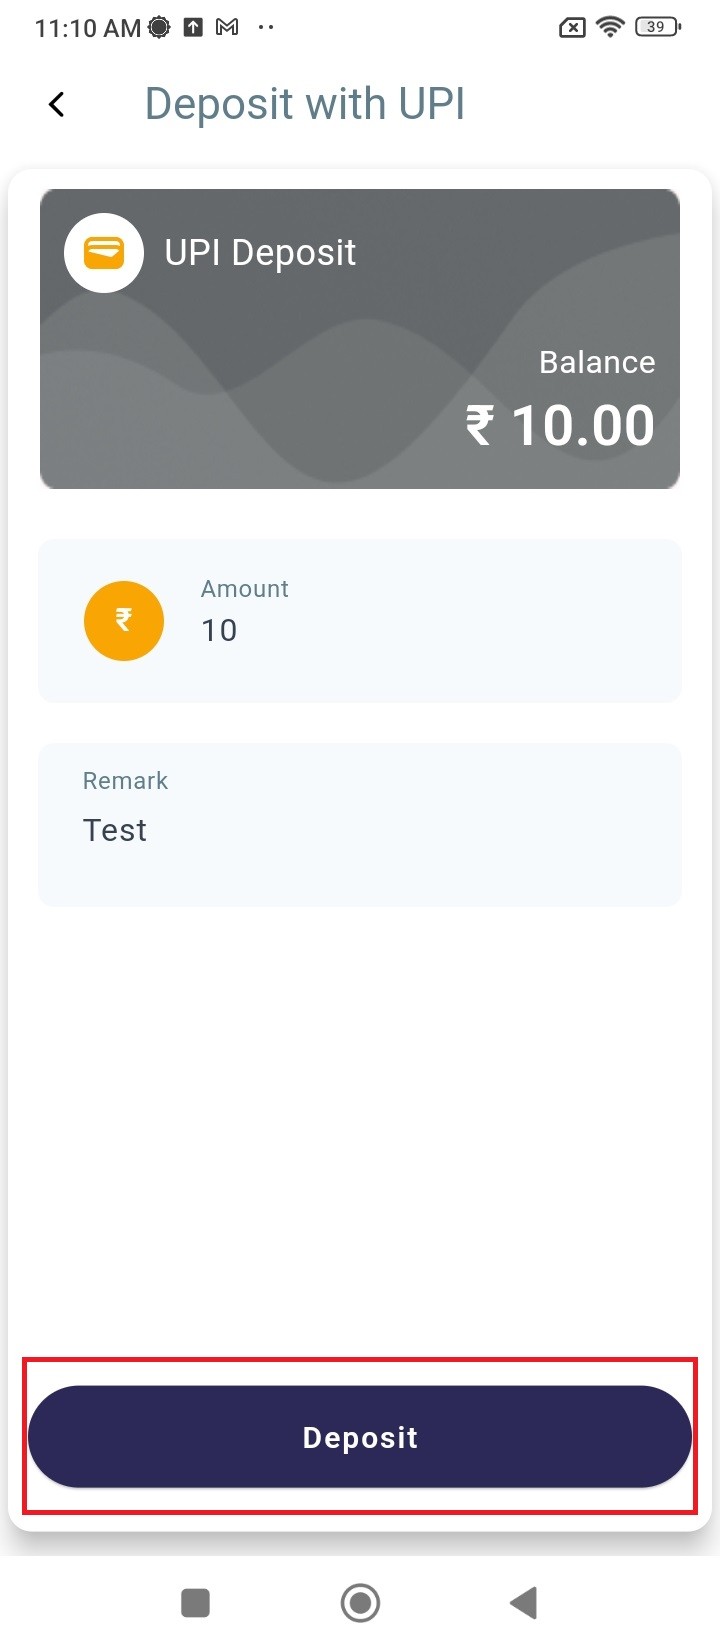
- Enter the desired amount and add a remark with it as well and then click Deposit to proceed ahead.
- Then, scan the QR code using your banking mobile application to transfer funds from your bank account to your Xprizo wallet.
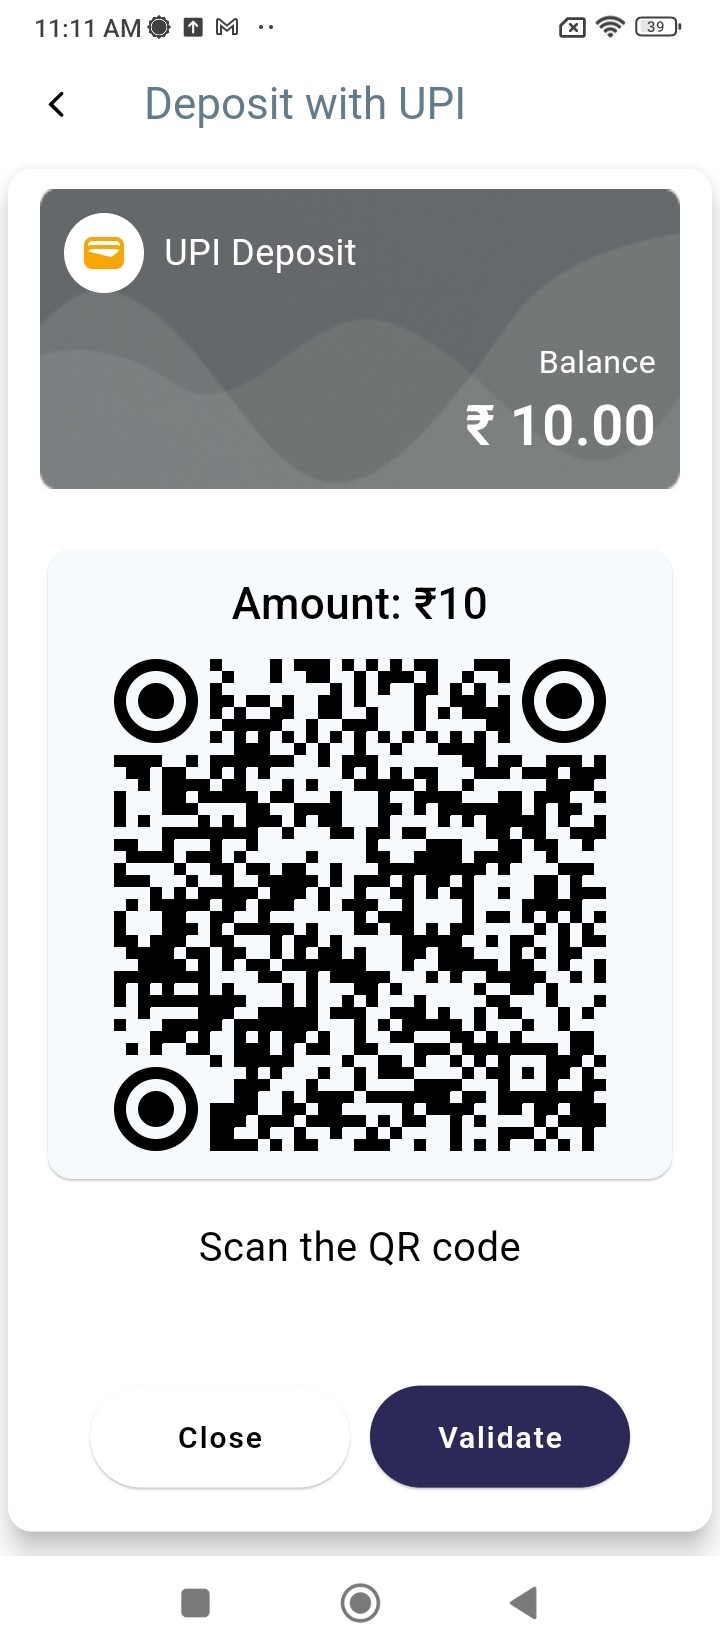
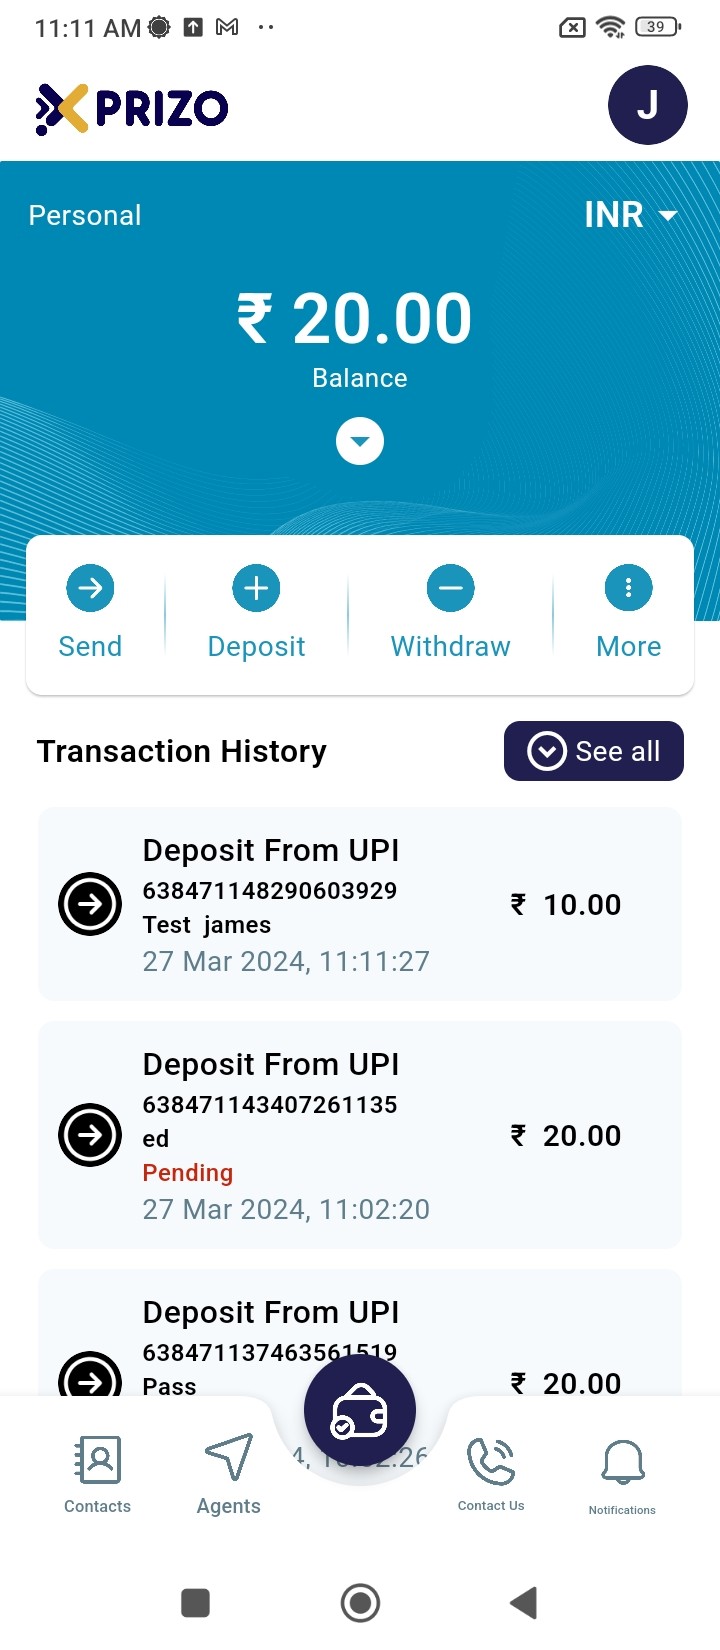
- After the payment is completed, you can click on the "Validate" button to confirm whether the transaction has been completed.
- Alternatively, you can click on "Close" to exit the QR code screen and return to the home screen.
# How to do Deposit using Agent Wallet?
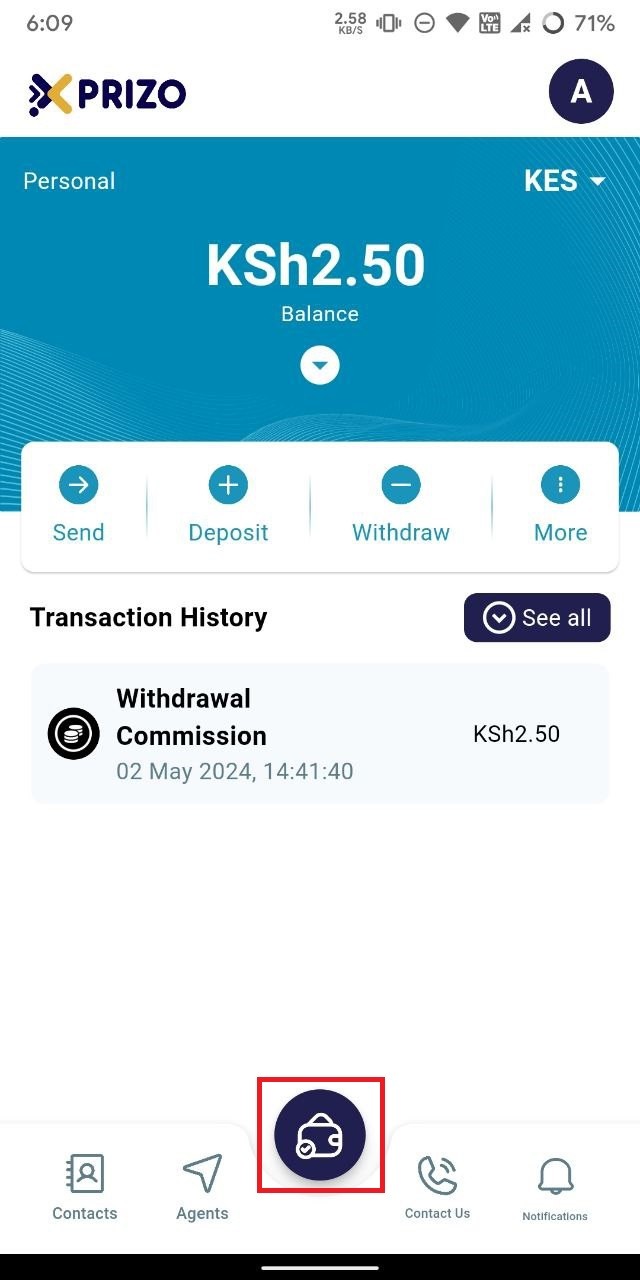
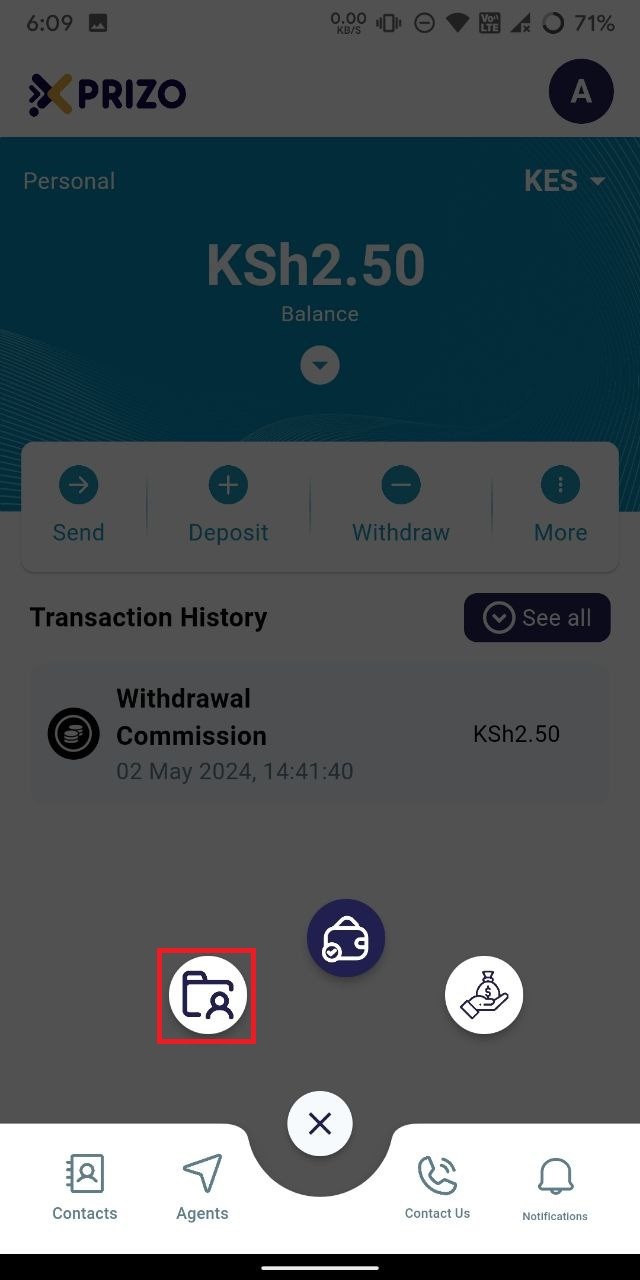
- Sign in to your account using your credentials, then tap on the bottom wallet button to navigate between different wallet types.
- Tap on the "Agent Wallet" button on the left to switch from your current personal wallet to the agent wallet.
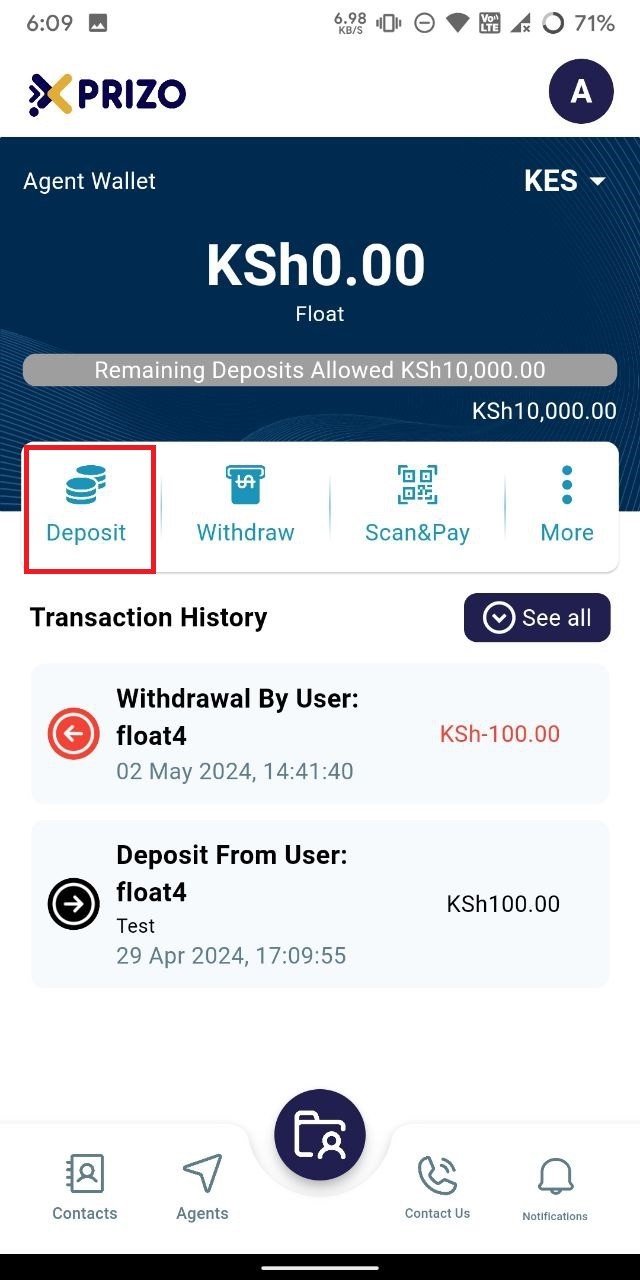
- Select "Deposit" to add funds received from the user physically into their wallet as digital currency.
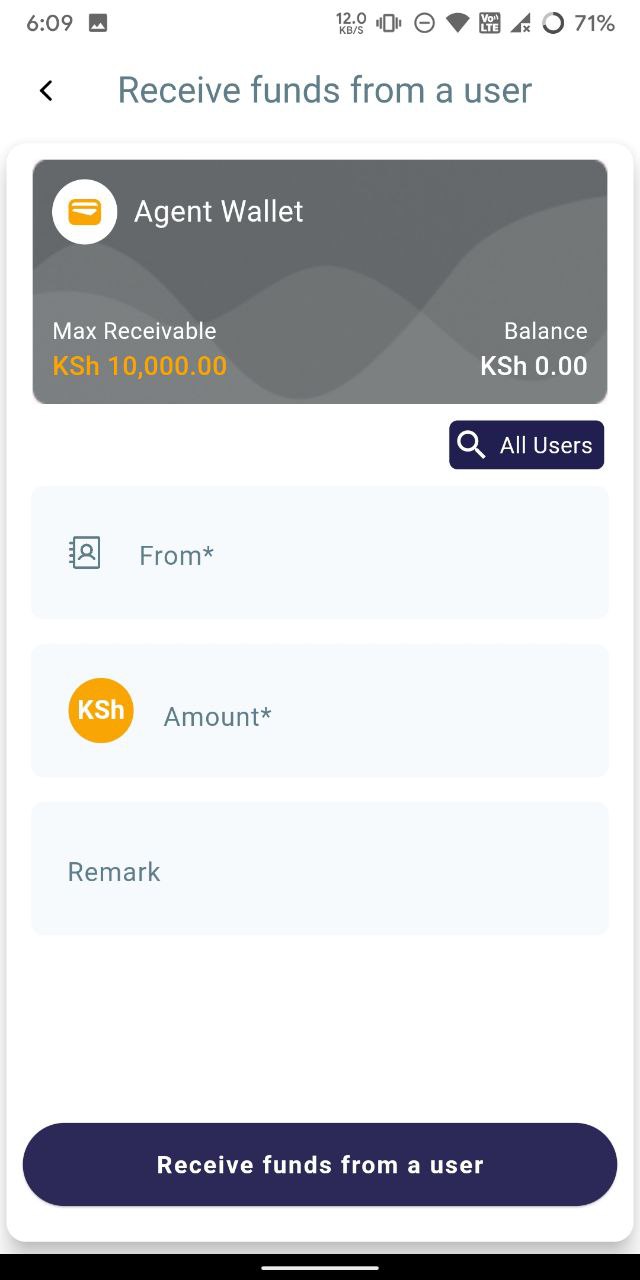
- Search for the user either from your contacts list if they are added, or use the "All Users" search button if they are not already added to your contacts. Enter the amount of money they are giving you in the amount field, and optionally add a remark. Click on "Receive funds from a user" to accept the money and add it to their wallet.
- Once redirected to the Agent wallet screen, approve the transaction by clicking on the checkmark. If you wish to discard the transaction, click on the cross icon instead.
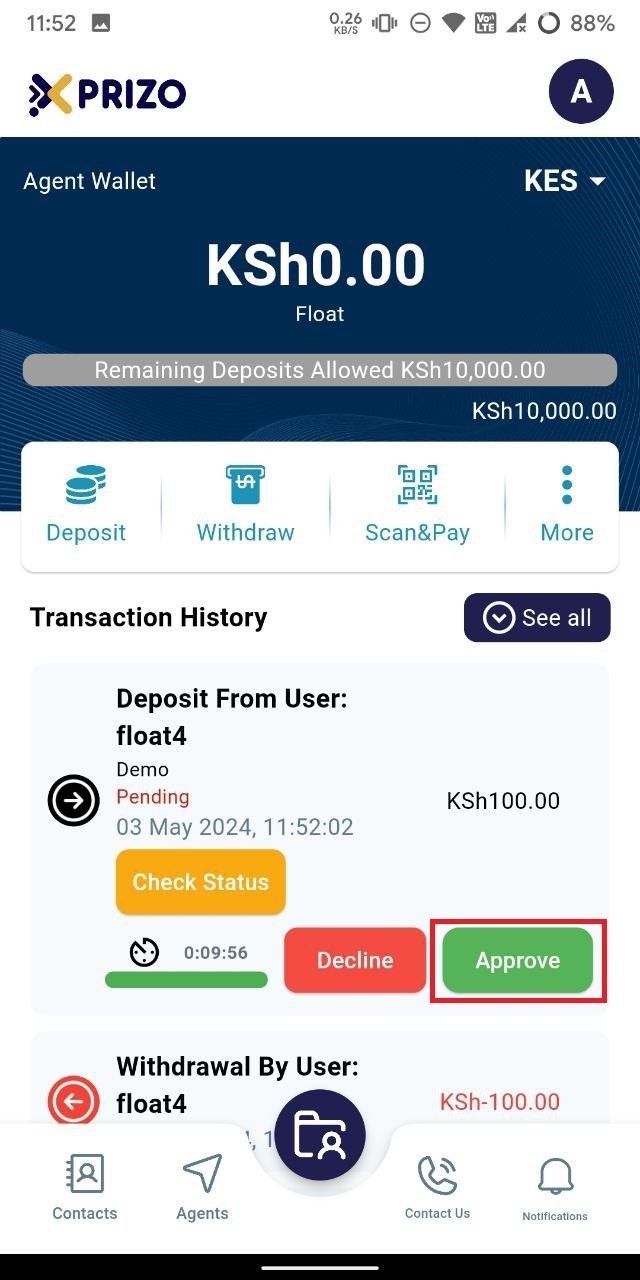
- Upon approval, the funds received will be added to your wallet, while the same amount will be credited to the user's wallet from whom the agent received the money.
# How to do Withdrawal using Agent Wallet?
- Sign in to your account using your credentials, then click on the wallet icon at the bottom to switch between different types of wallets.

- Tap the "Agent Wallet" button to transition from your current wallet to your agent wallet.

- Select the "Withdraw" button to dispense funds physically to the user, who will be paying from their digital wallet.
- If the user is in your contact list, enter their name; if not, search for them using the "All users" button. Input the amount the user wishes to withdraw in physical currency, and optionally add a remark. Finally, click on "Payout funds to user" to initiate the withdrawal.

- Once clicked, the user will have a pending transaction that they will need to approve.
- Upon approval from the user, the money will be deducted from their wallet. Similarly, the same amount will be deducted from the agent's wallet as the agent is providing physical cash to the user.
# How to use Float in Agent Wallet?
- Sign in to the app using your credentials, then tap on the wallet icon at the bottom to switch between different wallet types.

- Tap on the "Agent Wallet" button located on the left to switch from your current savings wallet to the agent wallet.

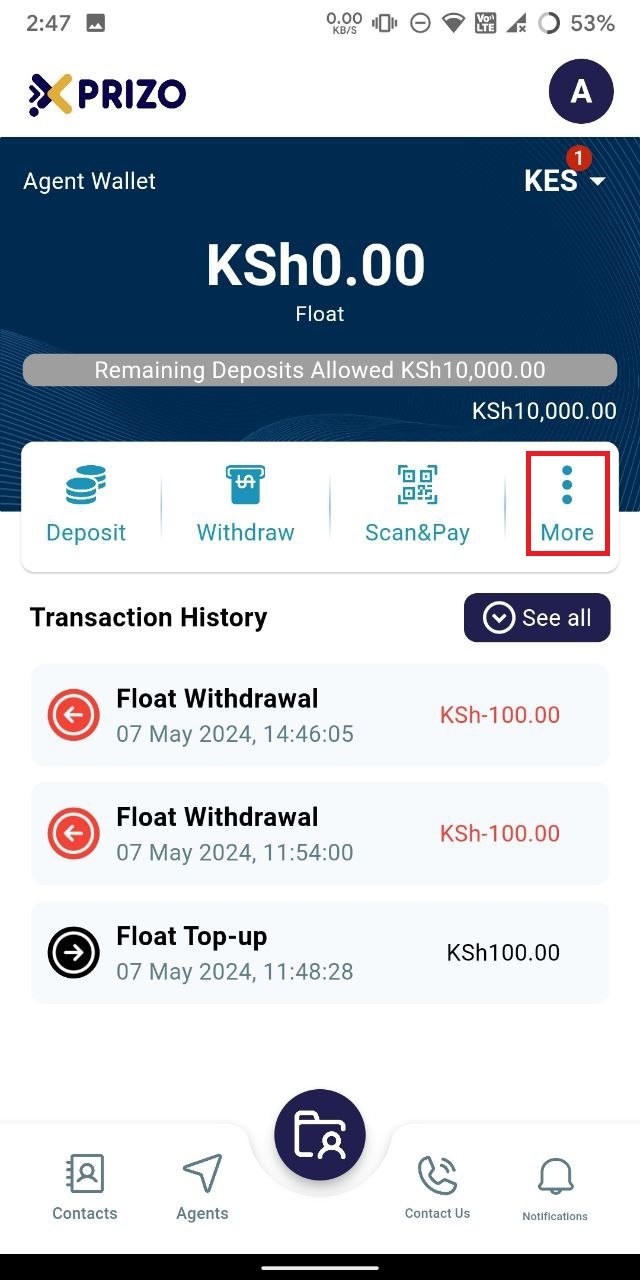
- Tap on the ellipsis icon to explore additional features of the app.
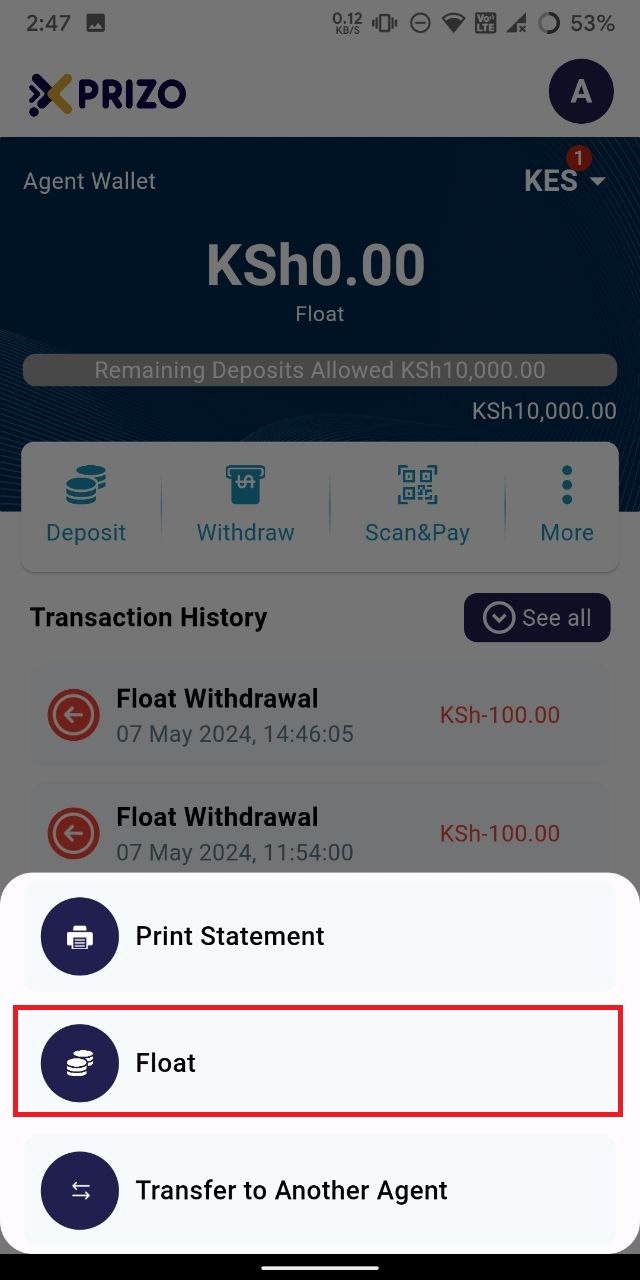
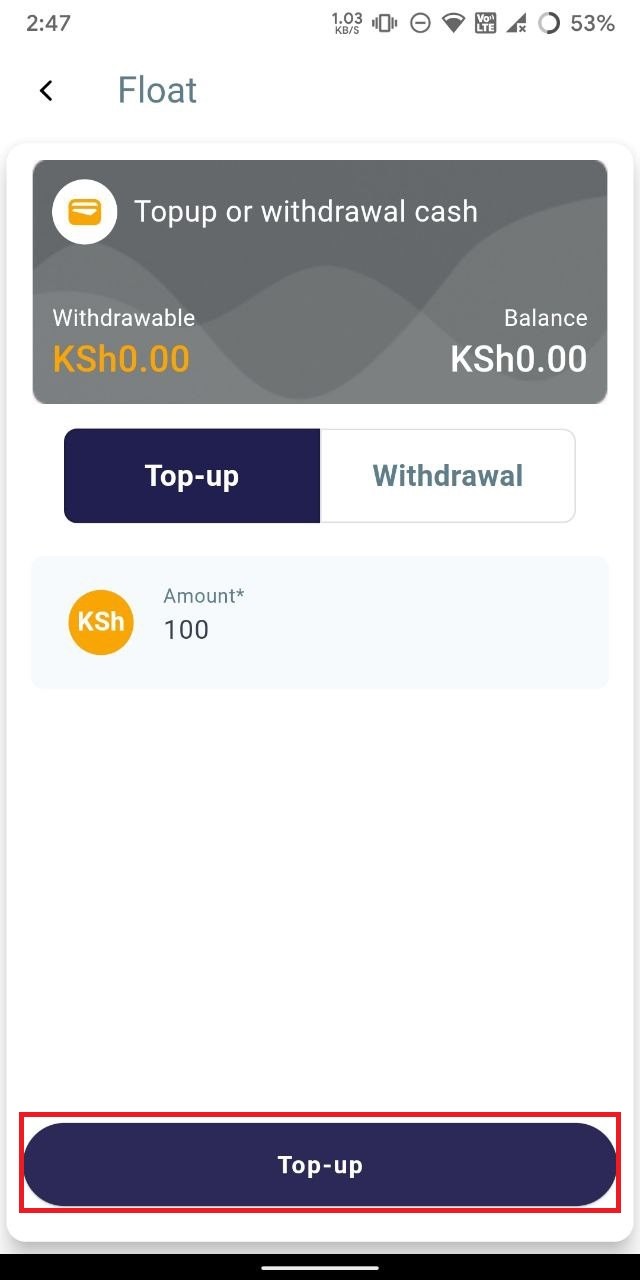
- Tap on "Float" to top up your agent wallet with the physical money you have on hand.
- To add funds to the agent wallet, input the desired amount in the designated field and tap on the "Top Up" button.
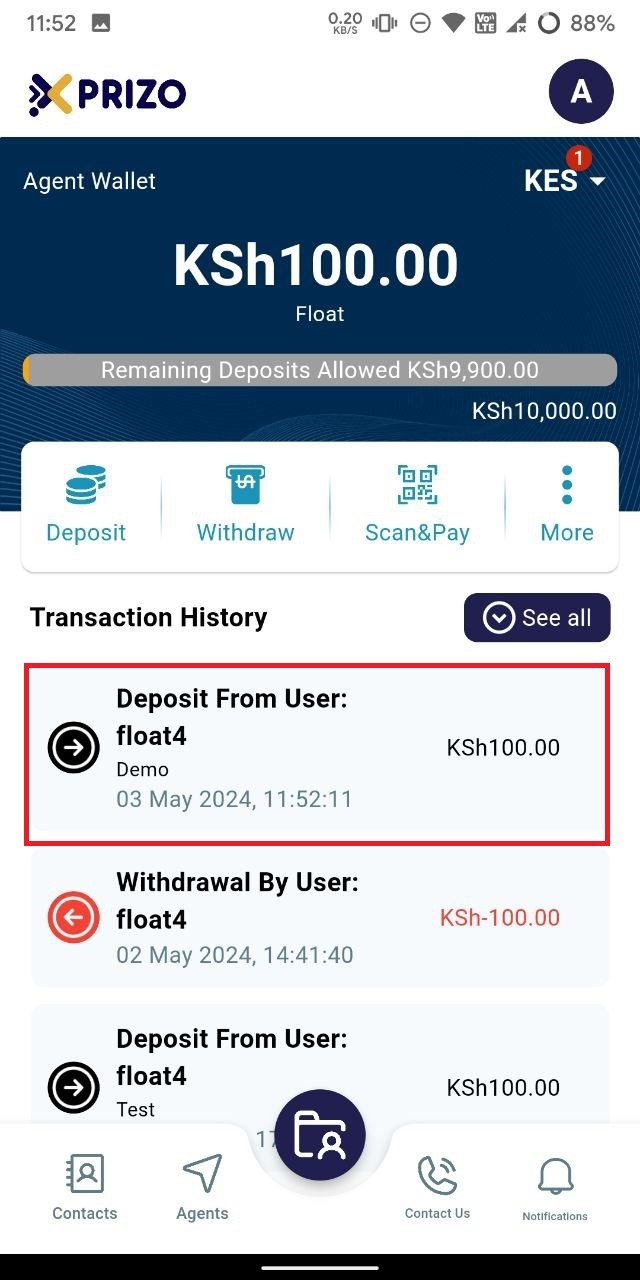
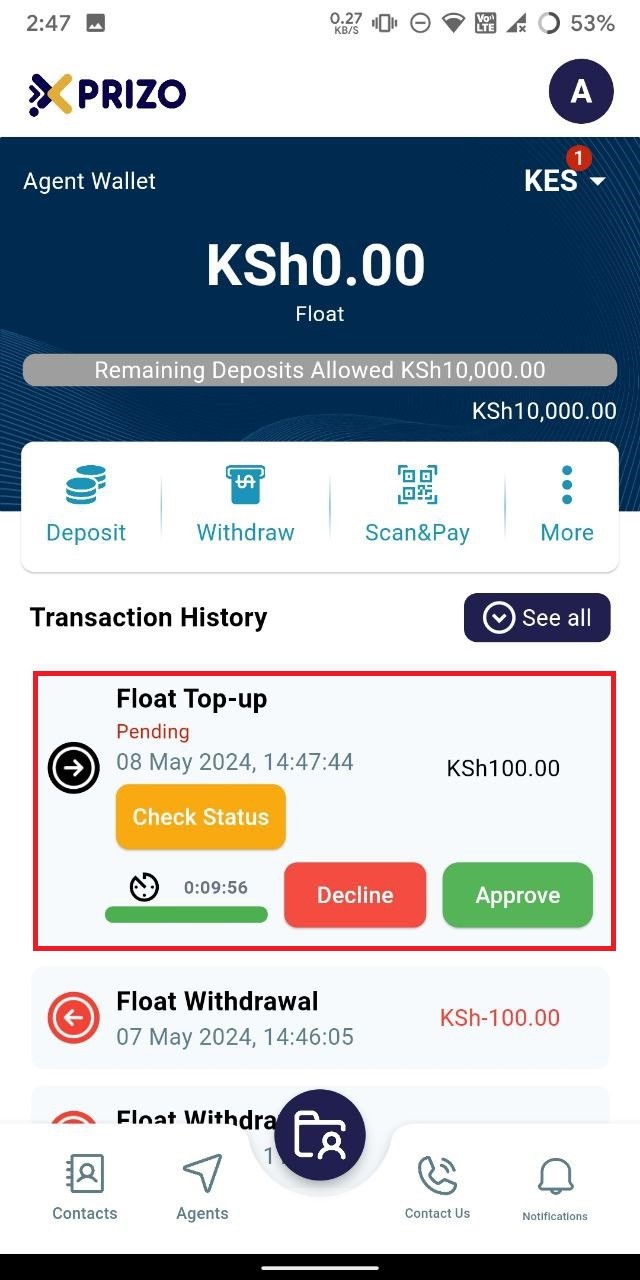
- After initiating the top-up, you'll be directed to your agent wallet screen. There, you'll find the float top-up transaction listed in the recent transactions history. You can approve the transaction to add the physical money to your agent wallet or decline to cancel the process.
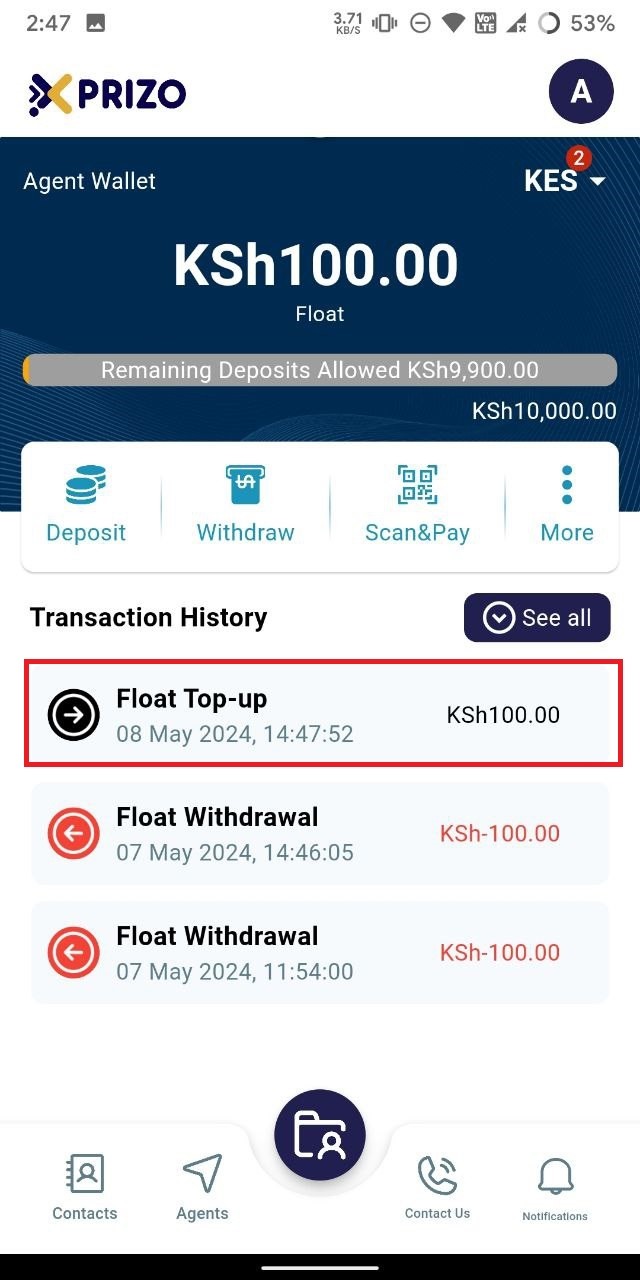
- Upon approval, the agent wallet will be successfully topped up with the approved amount from the transaction.
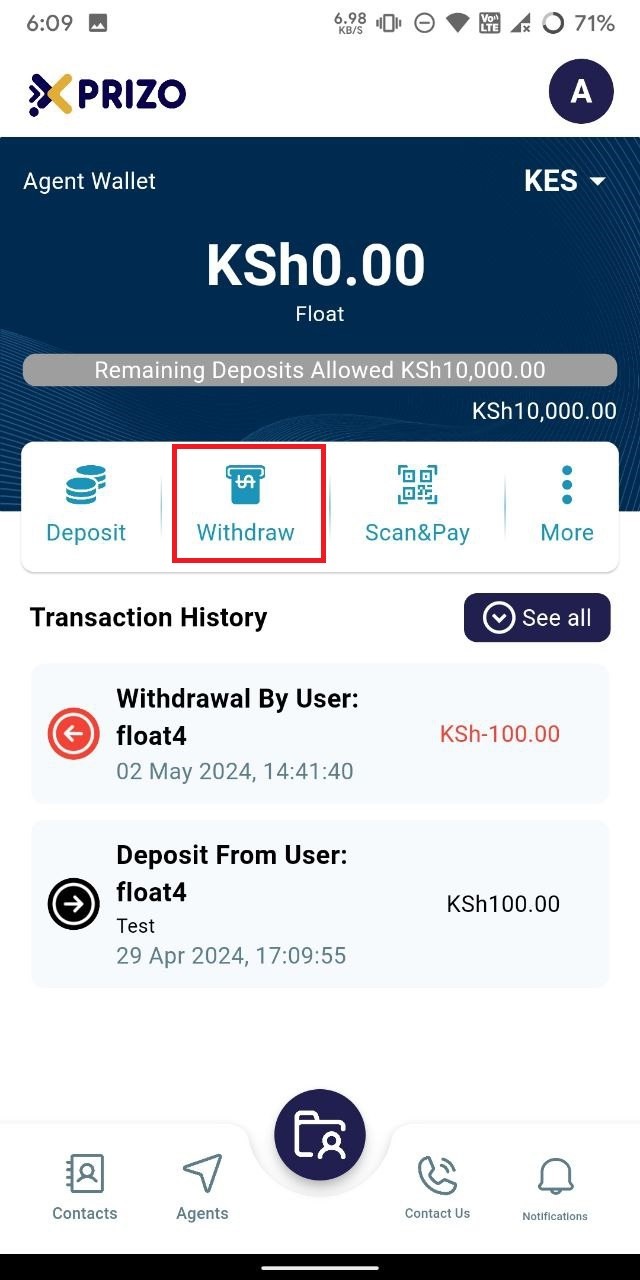
- To initiate a withdrawal, tap on the "More" ellipsis button, select "Float," and then click on the "Withdrawal" tab to navigate to the withdrawal section.
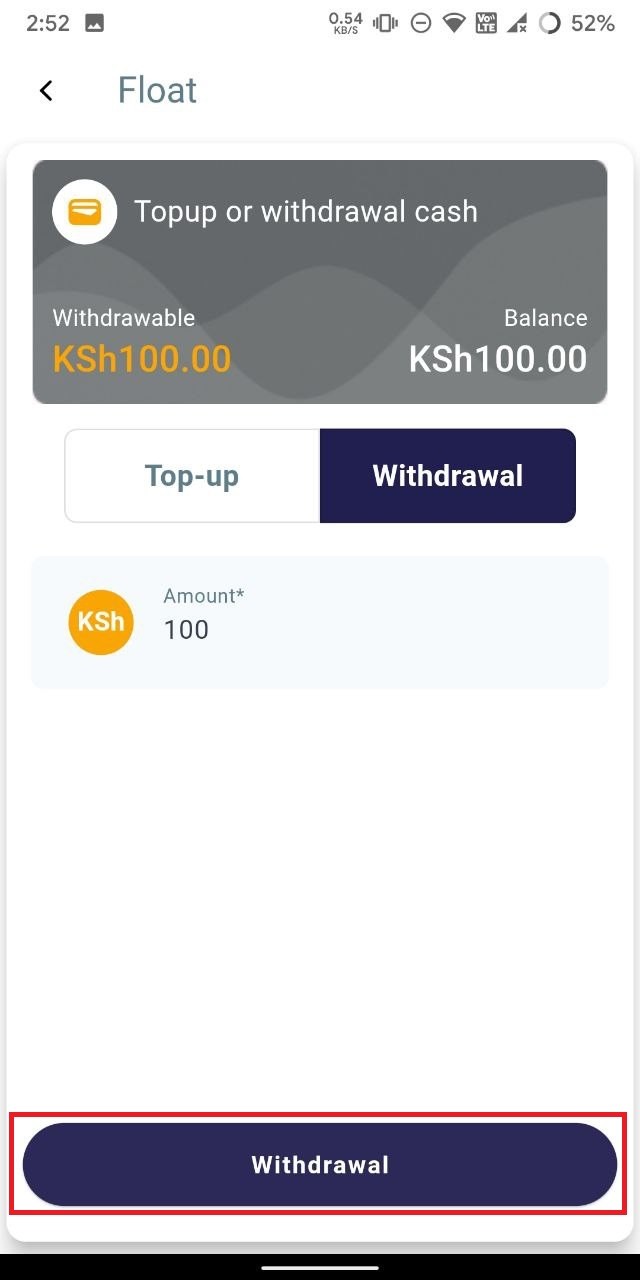
- Next, input the desired amount into the designated field, and proceed by clicking on the "Withdrawal" button to complete the withdrawal process.

- Upon initiating the withdrawal, you'll be directed to the agent wallet screen where a pending transaction will appear in your transaction history. To proceed, click "Approve" to confirm the transaction, or click "Decline" to discard it.
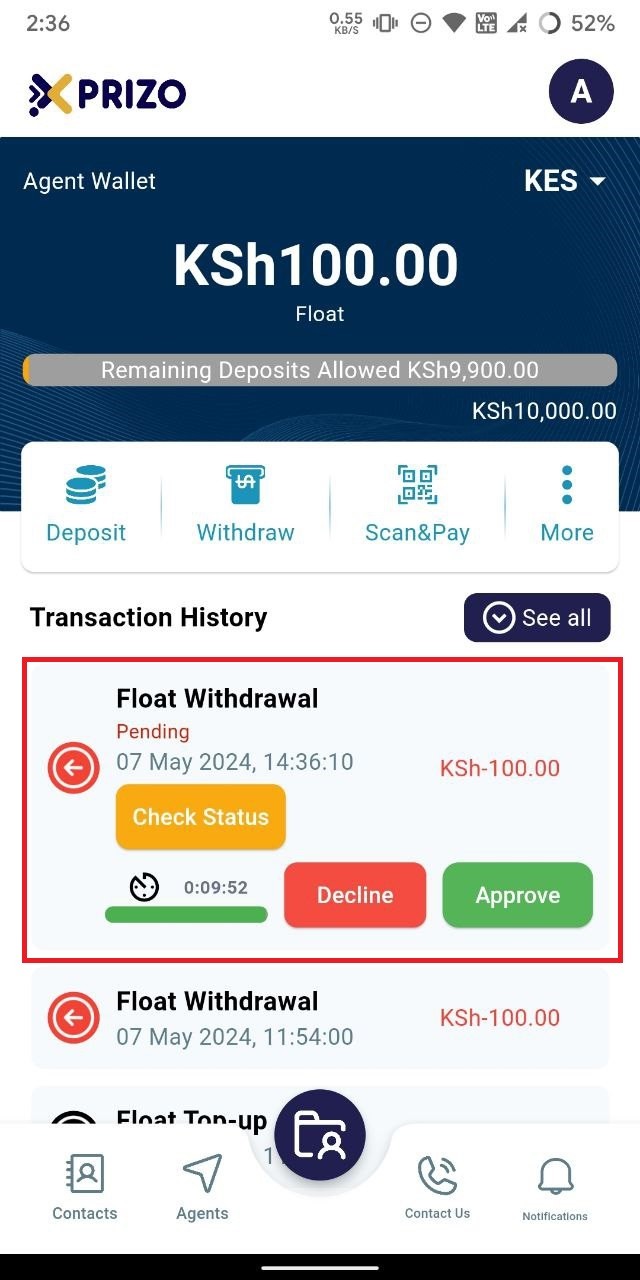
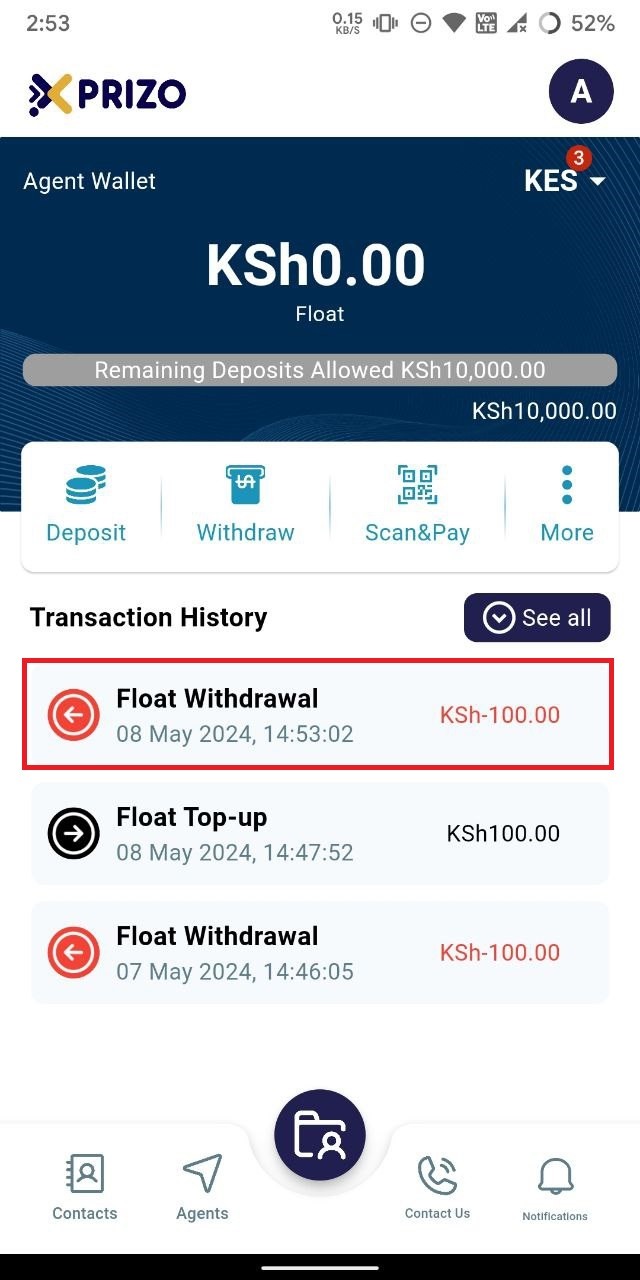
- Upon approval, the specified amount will be deducted from the agent wallet, completing the withdrawal transaction utilizing the float.
# How to use Wallet Transfer?
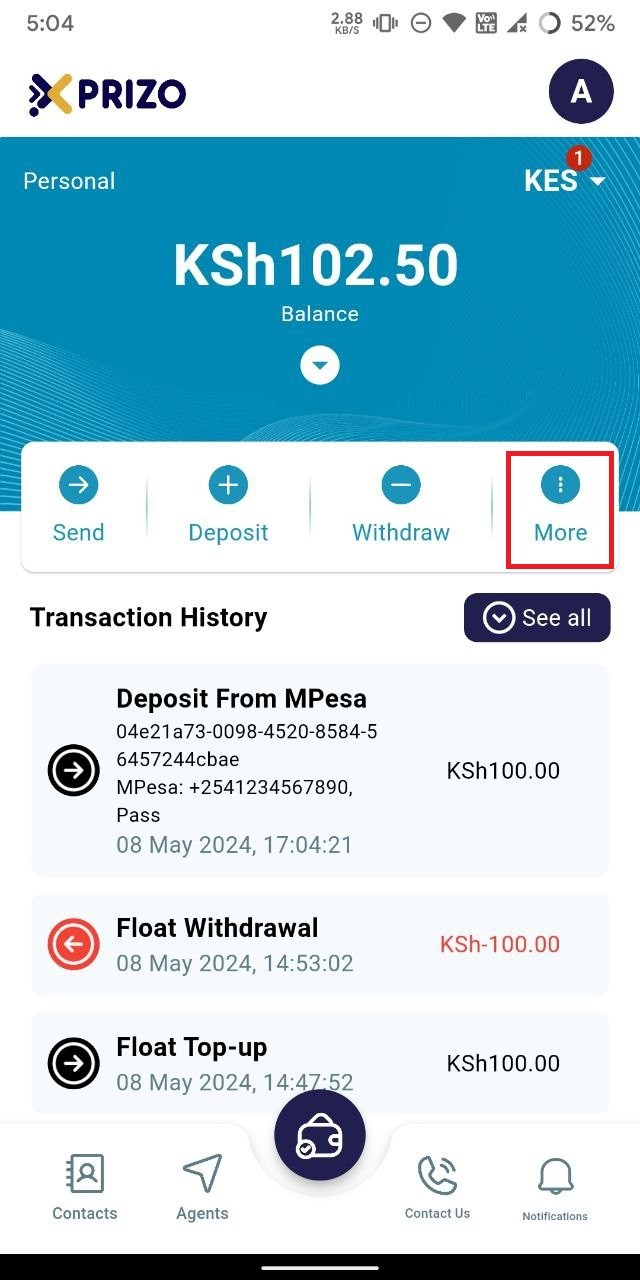
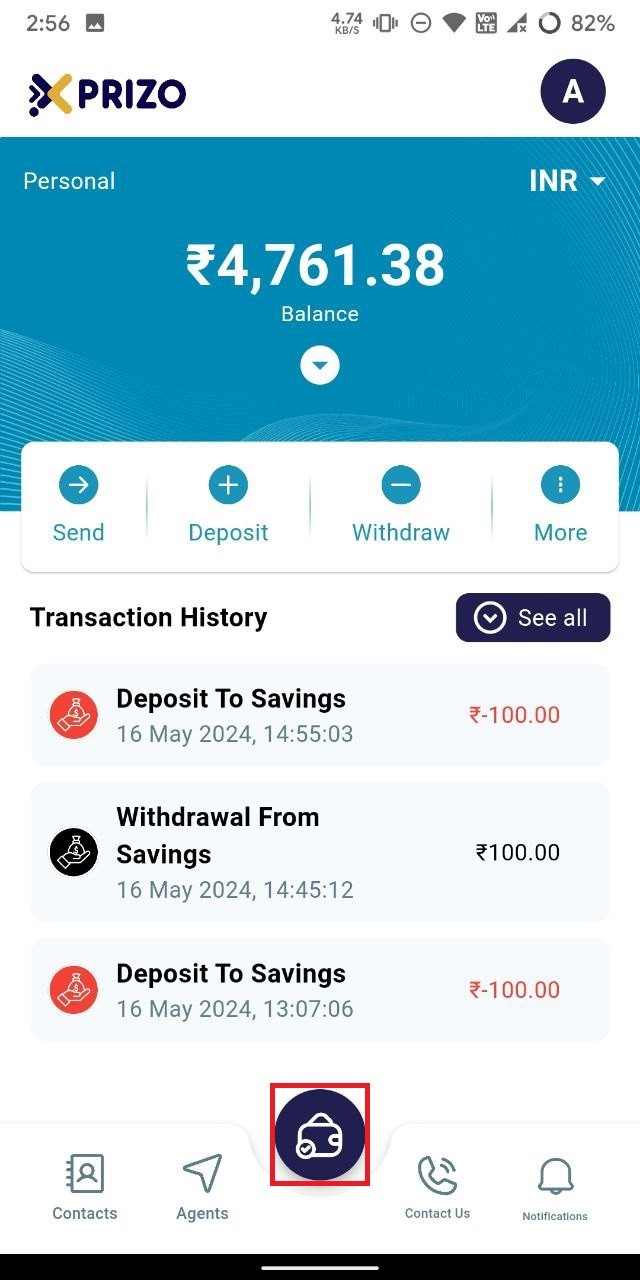
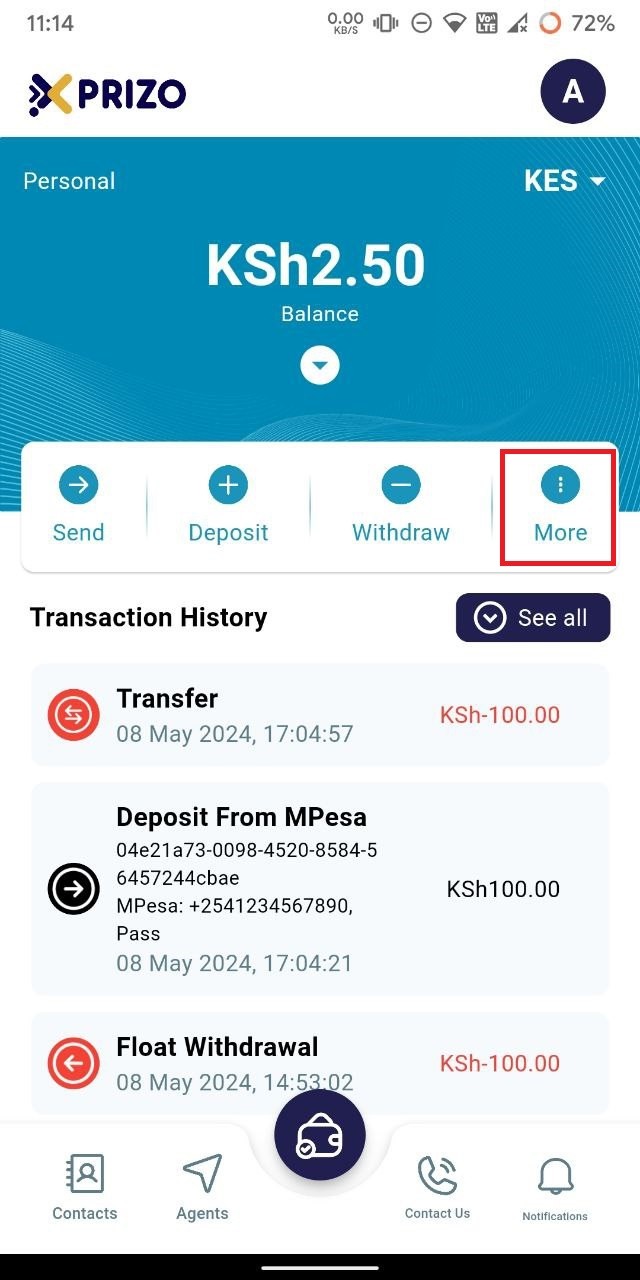
- Sign in to your app using your credentials and tap on the "More" ellipsis button.
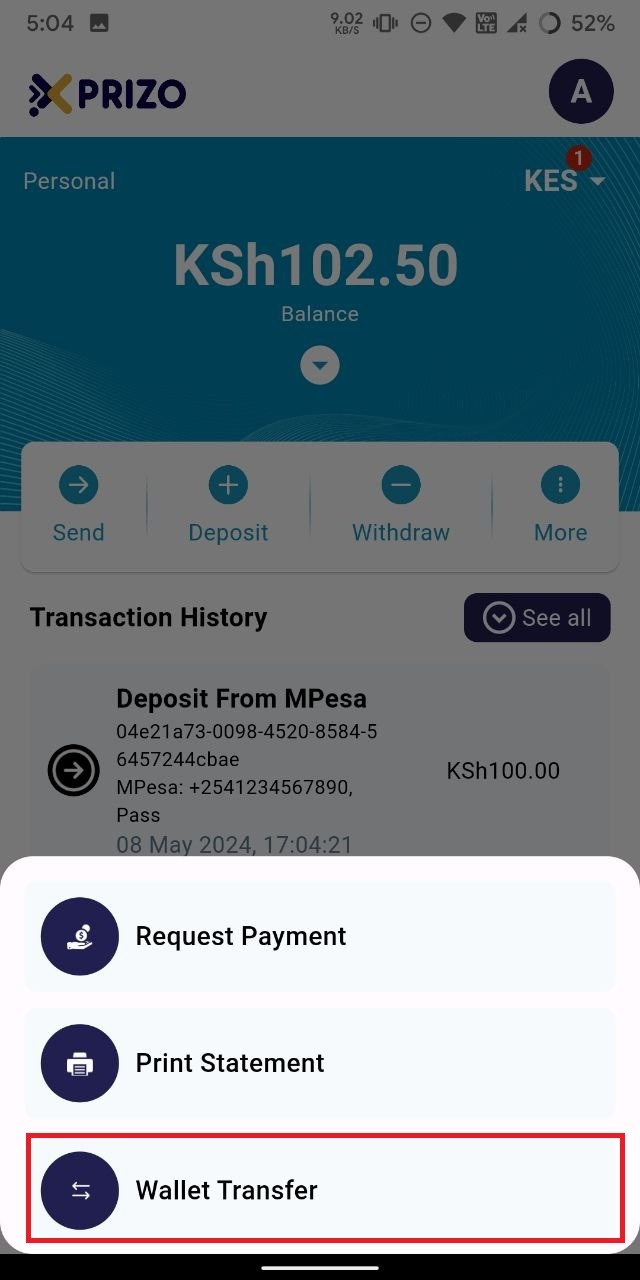
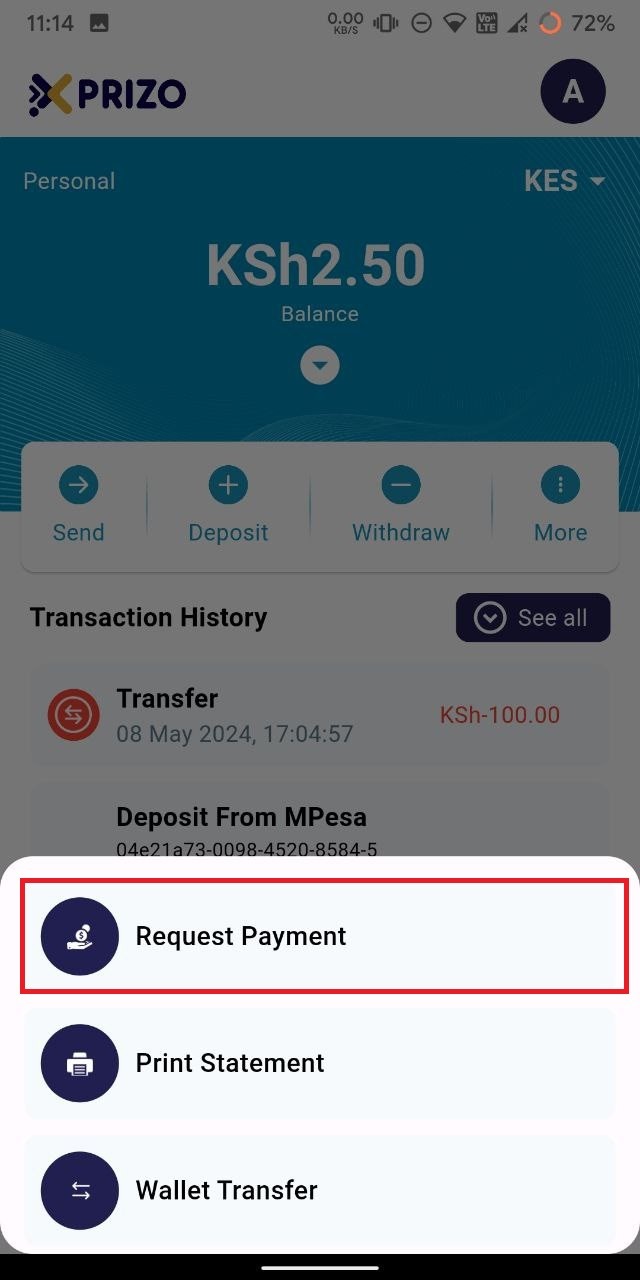
- Next, choose "Wallet Transfer" to initiate a transfer between wallets.
- Afterward, choose a wallet from the dropdown menu to transfer funds from and another wallet to transfer funds to.
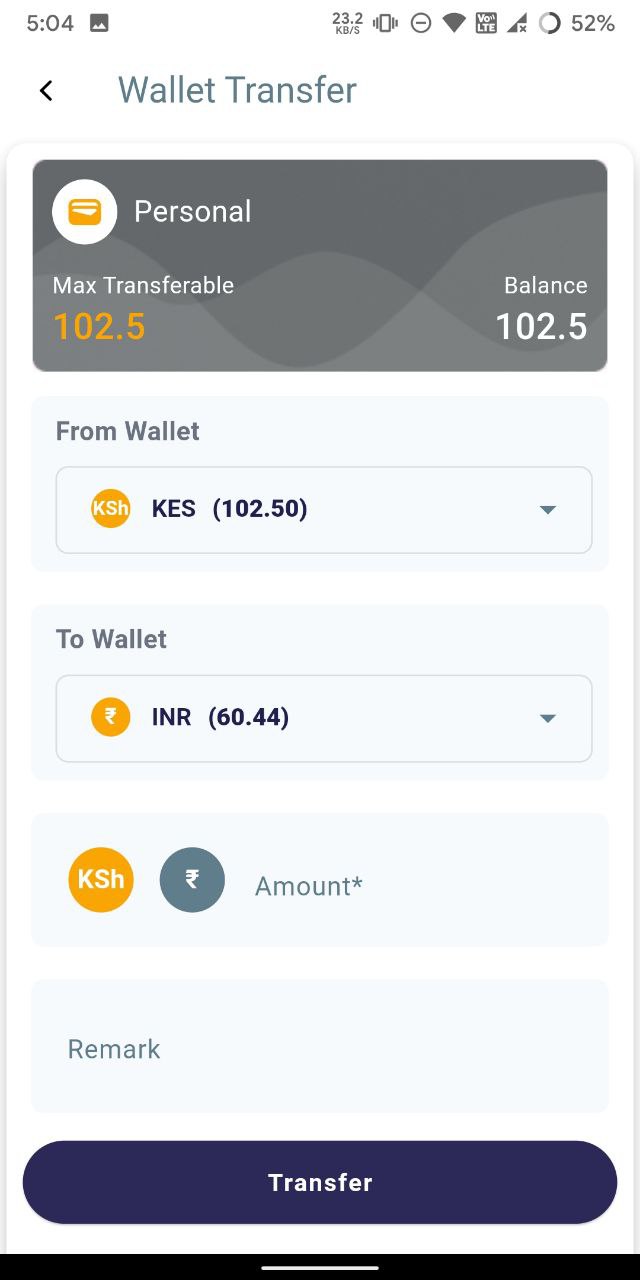
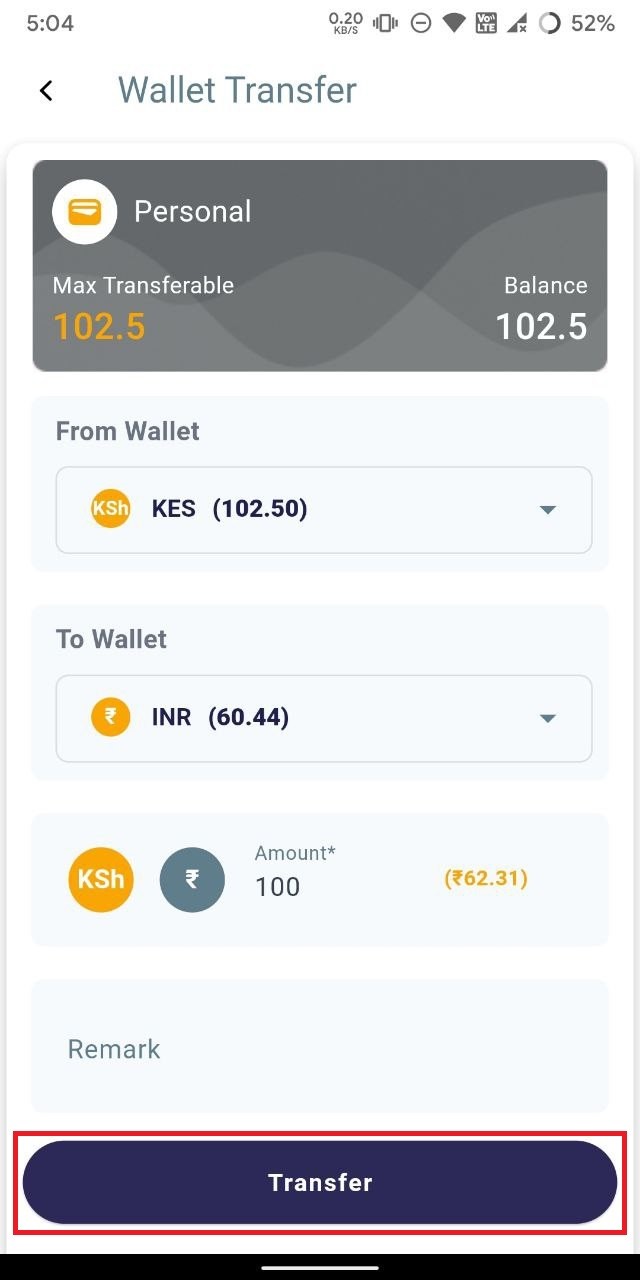
- Once you've entered the amount in the designated field and optionally added a remark, click "Transfer" to initiate the transfer of funds from one wallet to another.
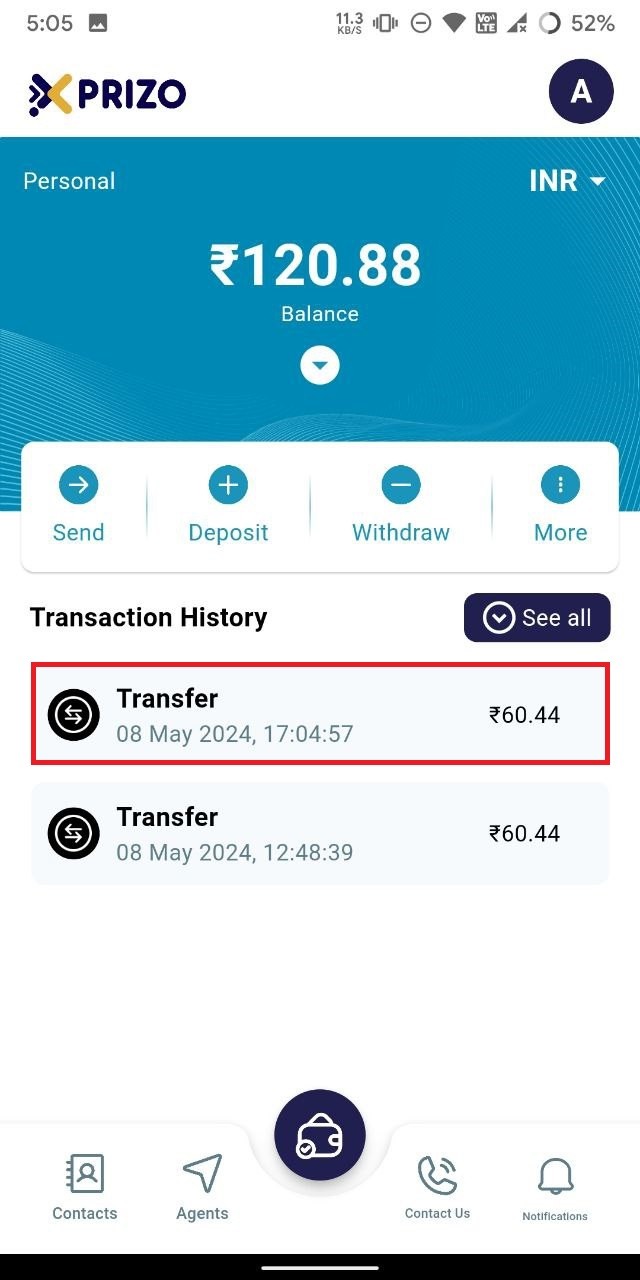
- After initiating the transfer, you'll be redirected to your agent wallet screen, where you'll find the pending transaction in your transaction history. Click "Approve" to confirm the transaction, or "Decline" to cancel it.

- Once approved, the funds will be transferred from one of your wallets to the other.
# How to do Deposit using Debit/Credit Card?
- Login to your app using your credentials and click on the deposit to view the options to do a deposit to your wallets.
- Then select Dr/Cr Card option to initiate deposit using your debit card or credit card.
- Then enter the amount you want to deposit using your card and then click on the Card Deposit button.
- You'll then be redirected to the card details screen where you will have to enter the details of your card.
# How to Manage Savings Wallet?
- Log in to the app, use your credentials, and then click on the wallet icon at the bottom to switch between different wallets.
- Click on the savings wallet icon on the right to switch to the savings wallet.
- If no wallet is added, you will need to add one by clicking on the "Add New Wallet" button in the savings wallet screen.
- Next, select the currency for the new savings wallet and click on Add New Wallet button. Once done, switch back to the savings wallet by clicking on the wallet icon button at the bottom.
- Then, to deposit money from your personal wallet to the savings wallet, click on "Deposit."
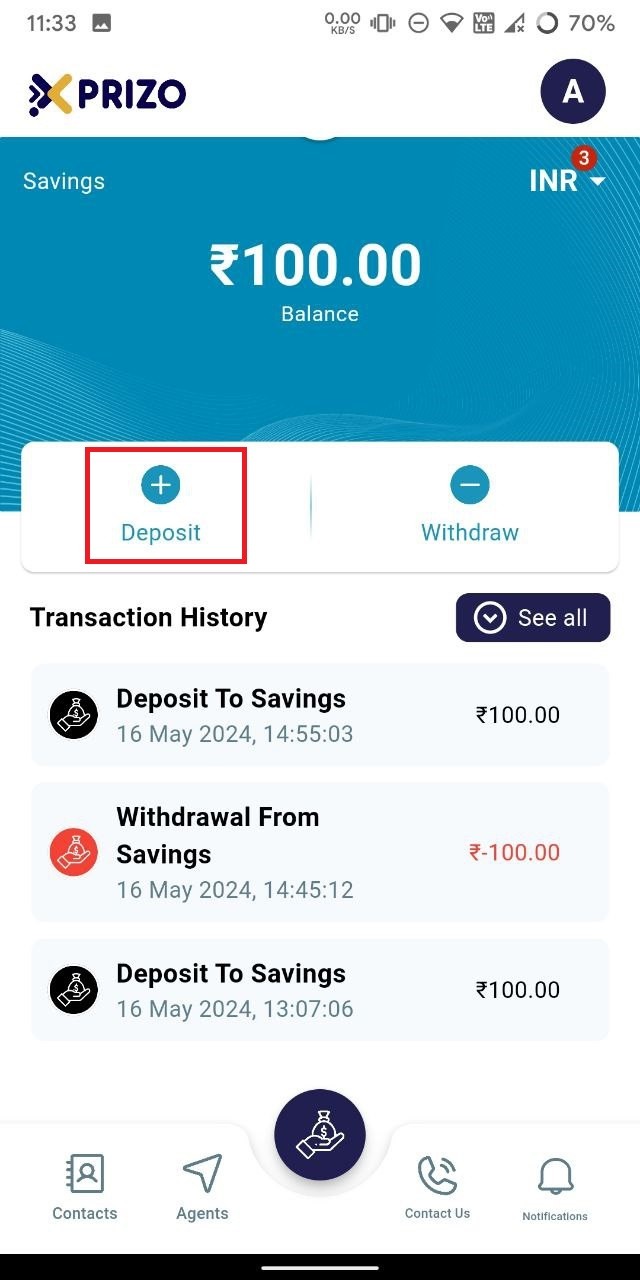
- Enter the amount in the designated field and click "Confirm" to add the money to your savings wallet. If you wish to discard the deposit, click "Cancel."

- You will then be redirected to your savings wallet screen, where the transaction will appear as pending in your transaction history.
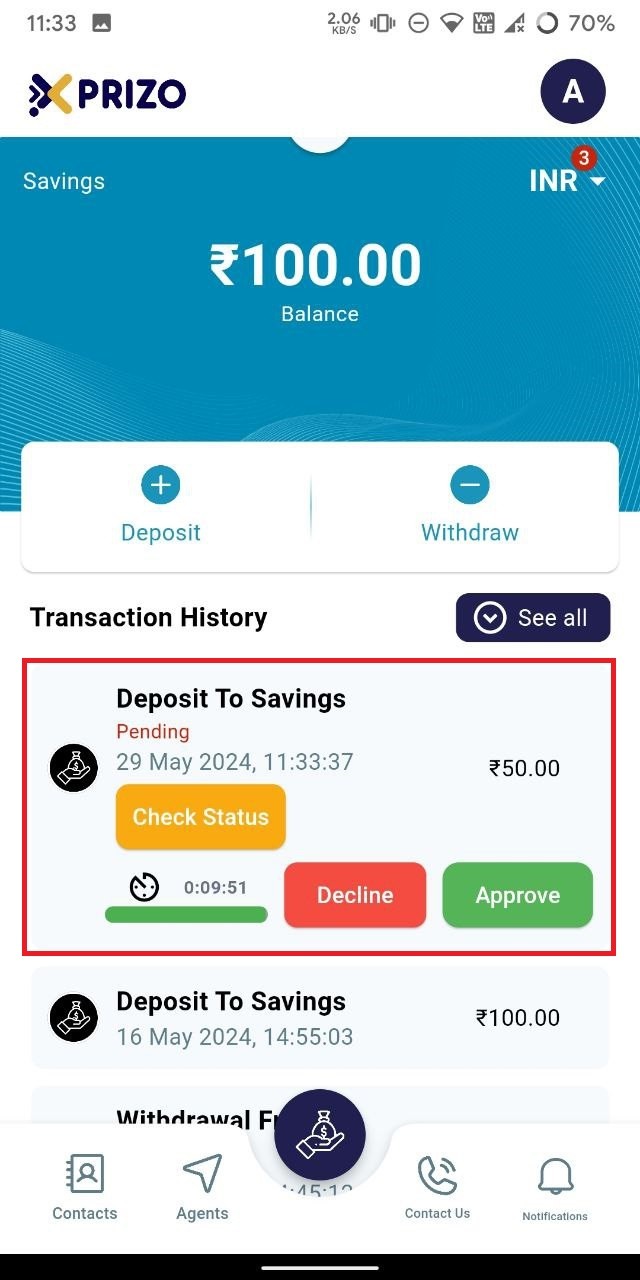
- Click "Approve" to confirm the transaction, or "Decline" to cancel it.
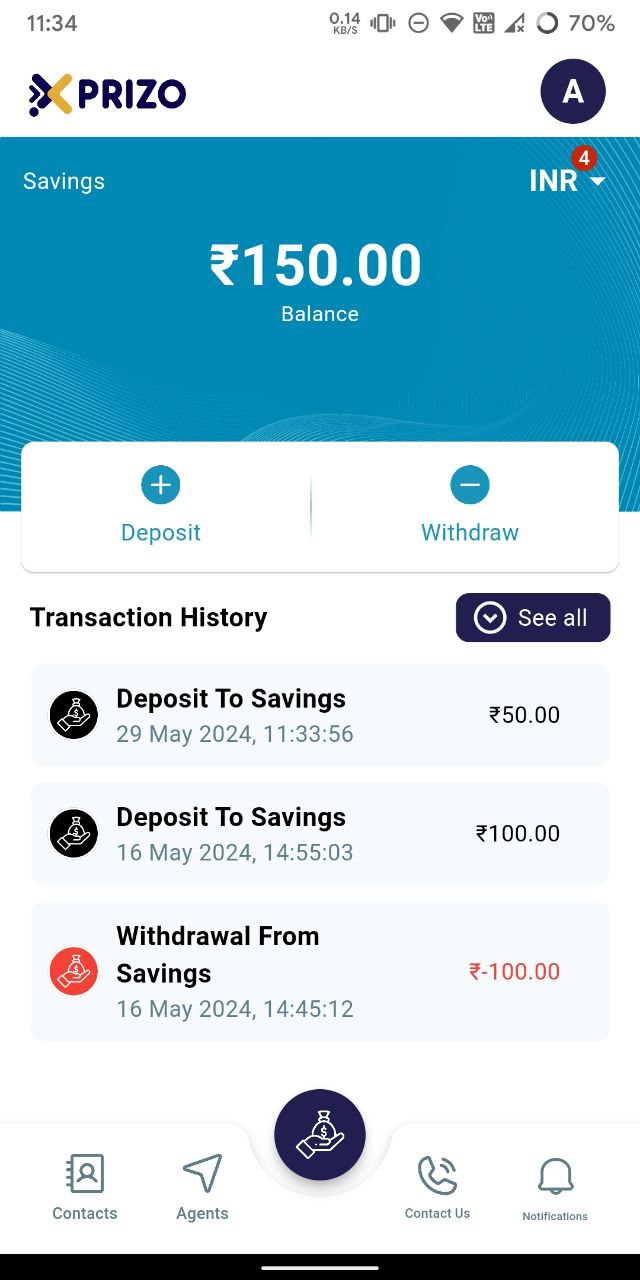
- Once approved, the money will be transferred from your personal wallet to your savings wallet.
# How to Request Payment from another user?
- Log in to your app using your credentials and click on the "More" ellipsis button.
- Next, click on the "Request Payment" button on the bottom card.
- Then, search for the user in your contact list. If the user is not added, click on the search icon at the top to find them.
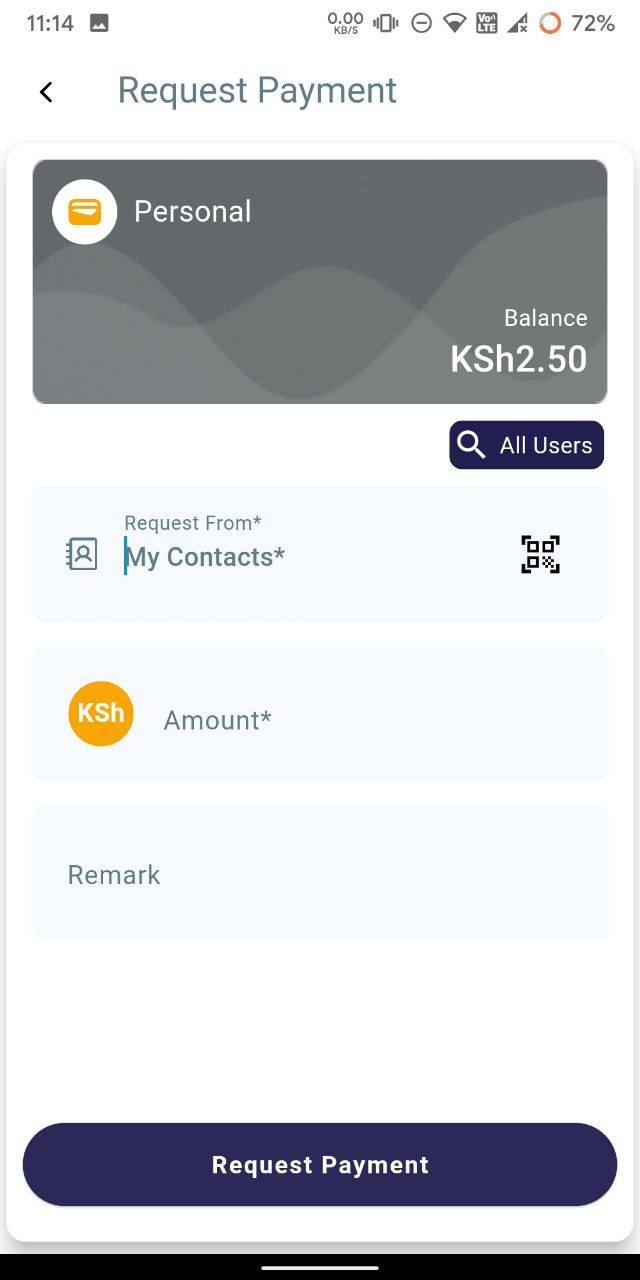
- Then enter the amount you want to request from the user. You can also add a remark if you wish.
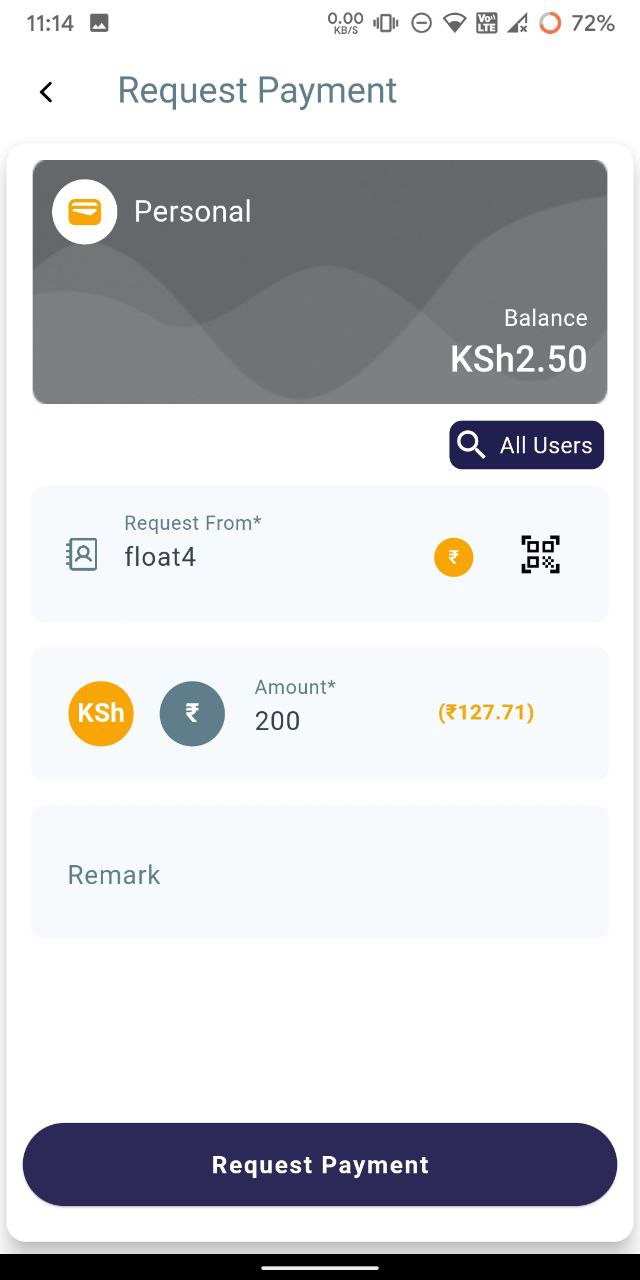
- Once done, click on "Request Payment" to request the entered amount from the user.
- You will then be redirected to the dashboard screen, where you will see the requested transaction marked as pending.
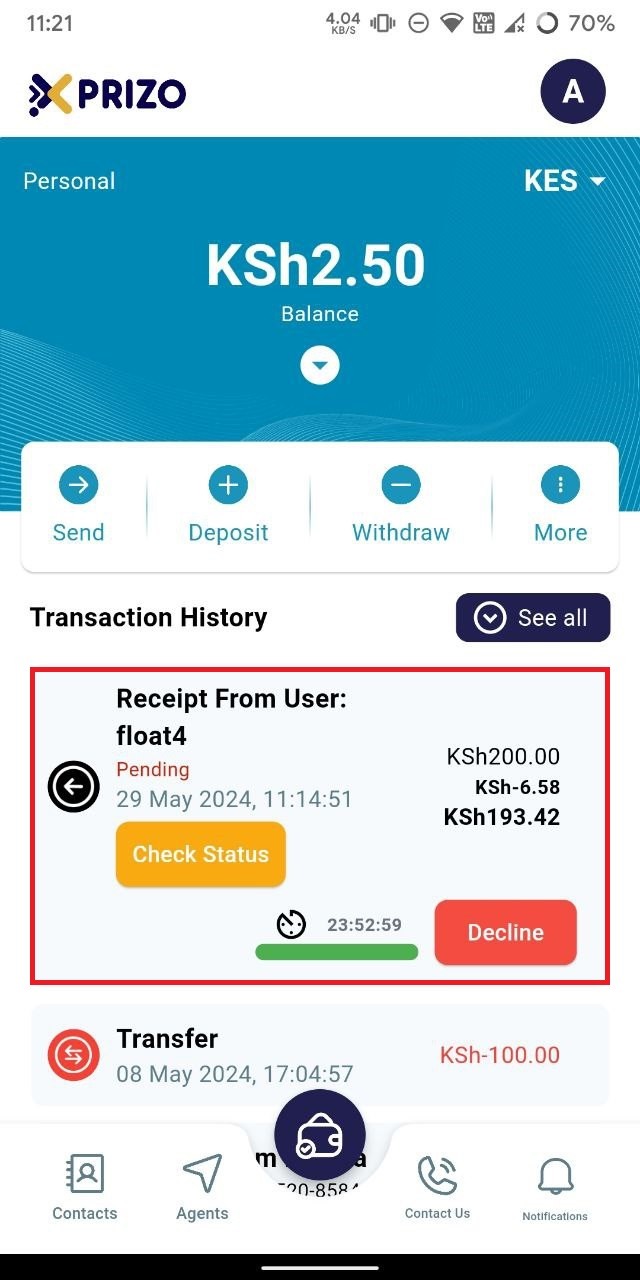
- Once approved by the user, the amount will be added to your wallet.