How to use Float in Agent Wallet?
-
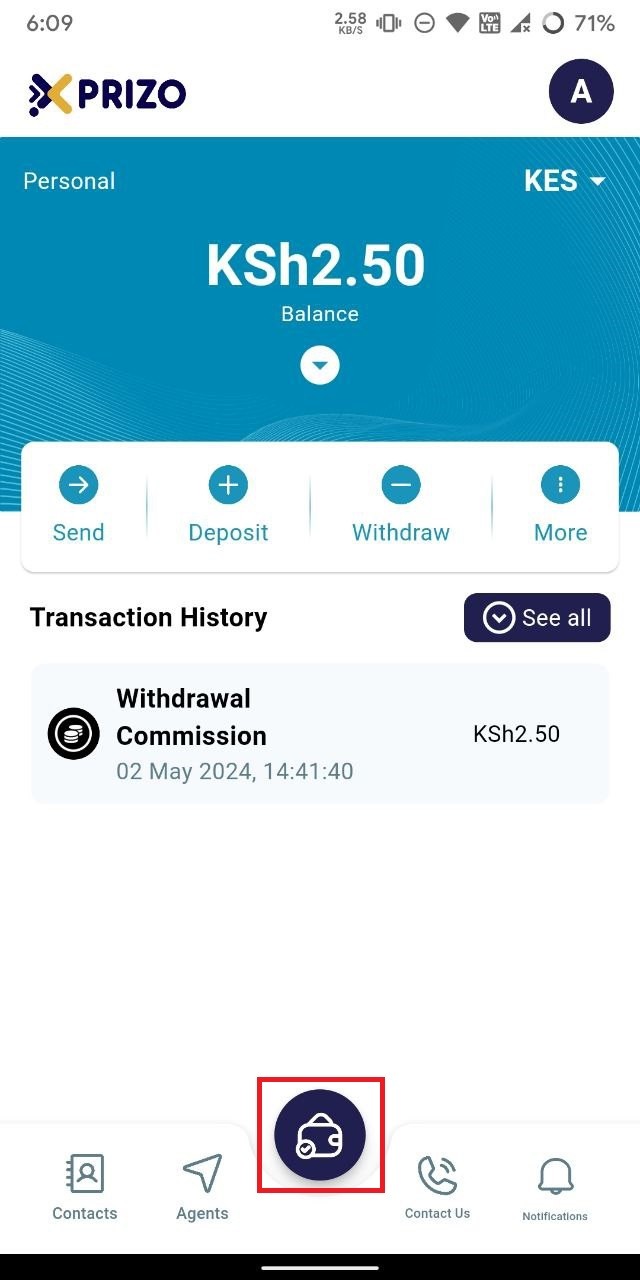
Sign in to the app using your credentials, then tap on the wallet icon at the bottom to switch between different wallet types.
-
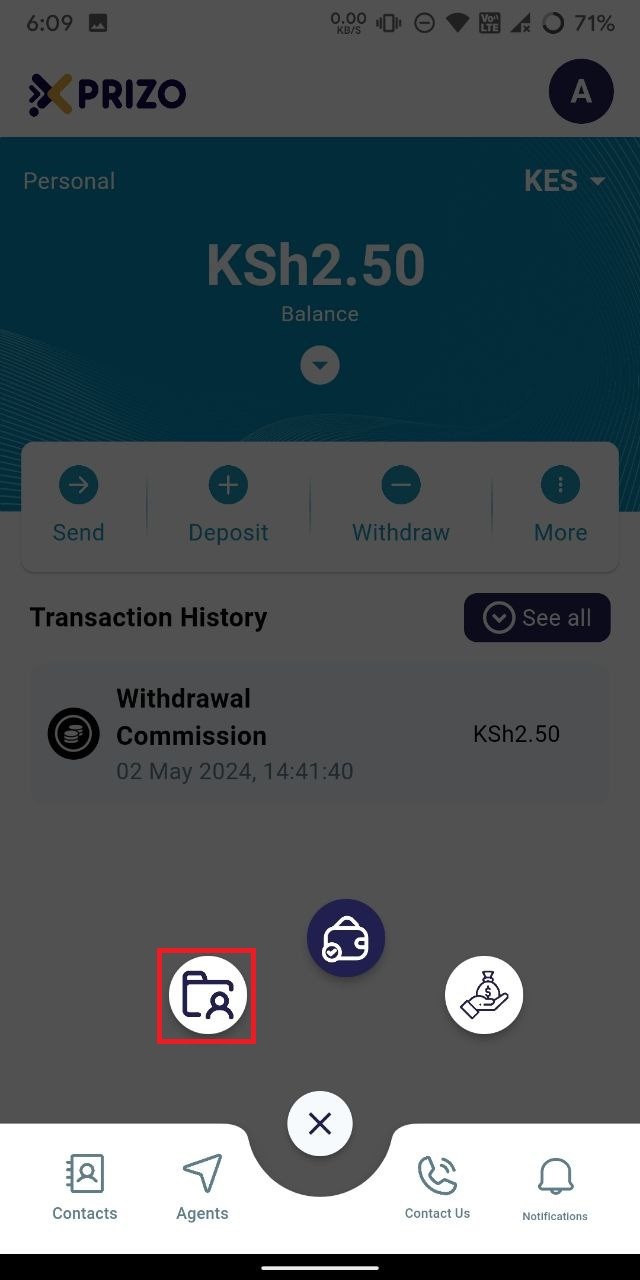
Tap on the "Agent Wallet" button located on the left to switch from your current savings wallet to the agent wallet.
-
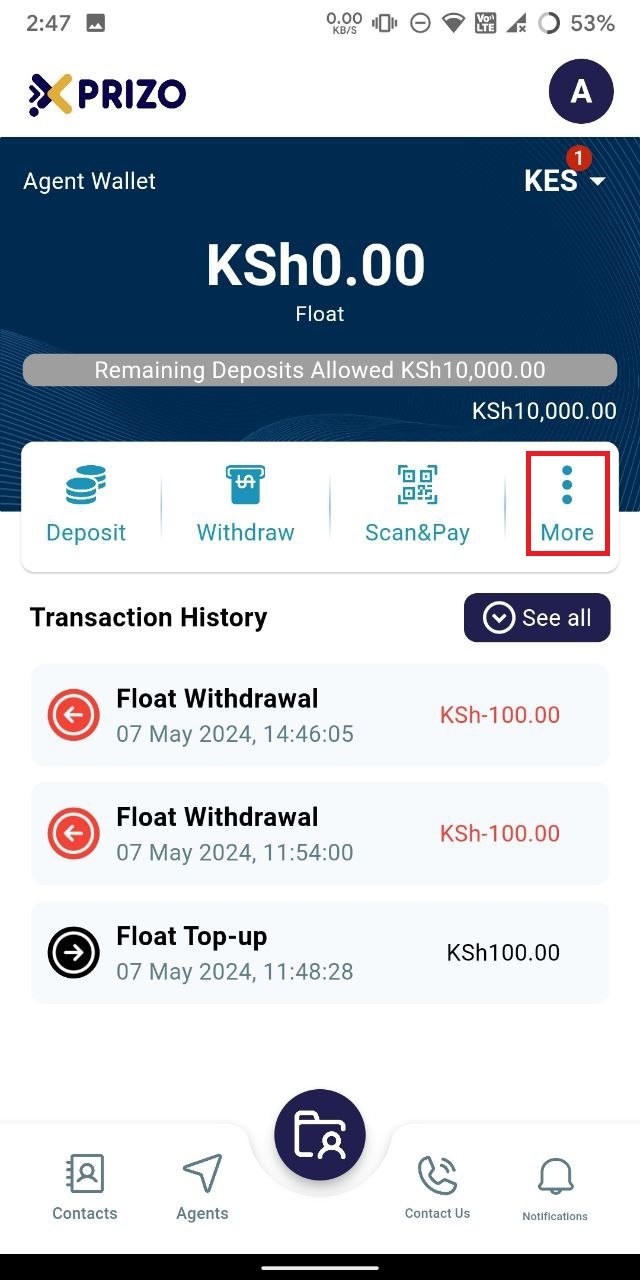
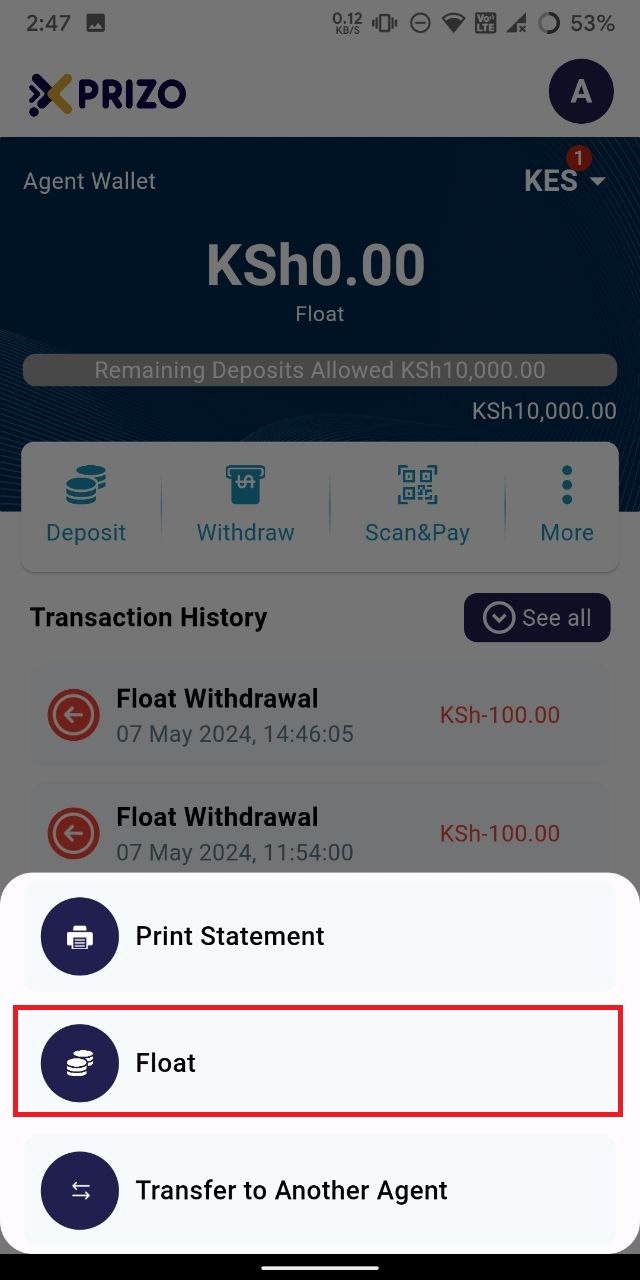
Tap on the ellipsis icon to explore additional features of the app.
-
Tap on "Float" to top up your agent wallet with the physical money you have on hand.
-
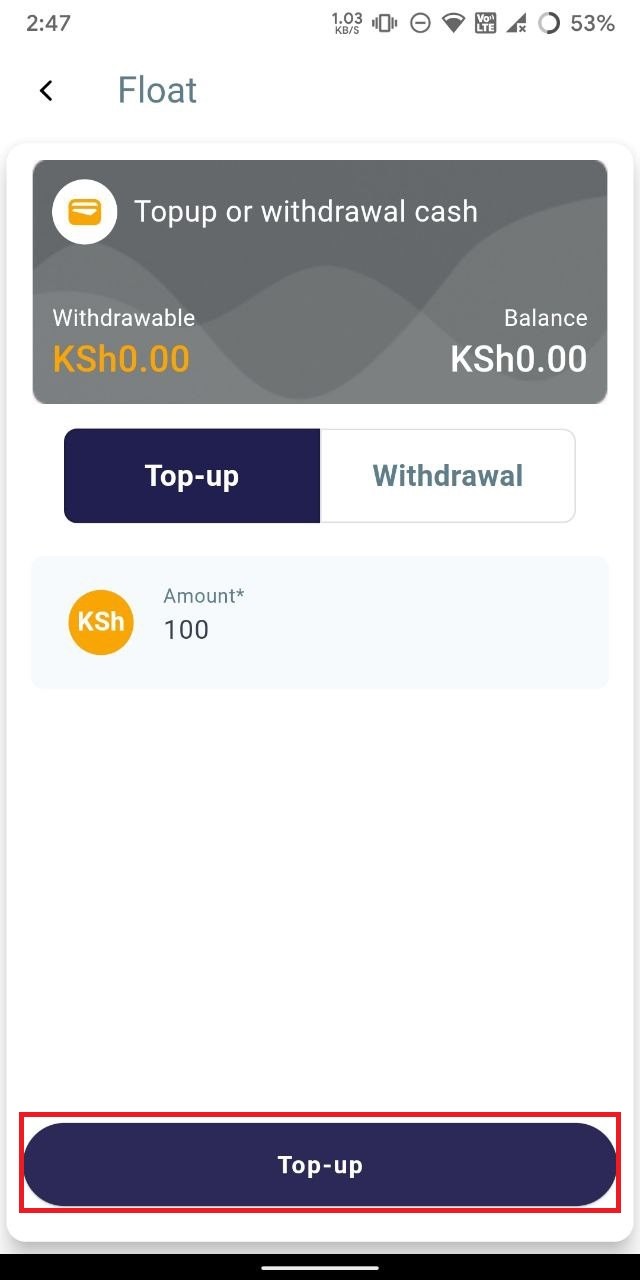
To add funds to the agent wallet, input the desired amount in the designated field and tap on the "Top Up" button.
-
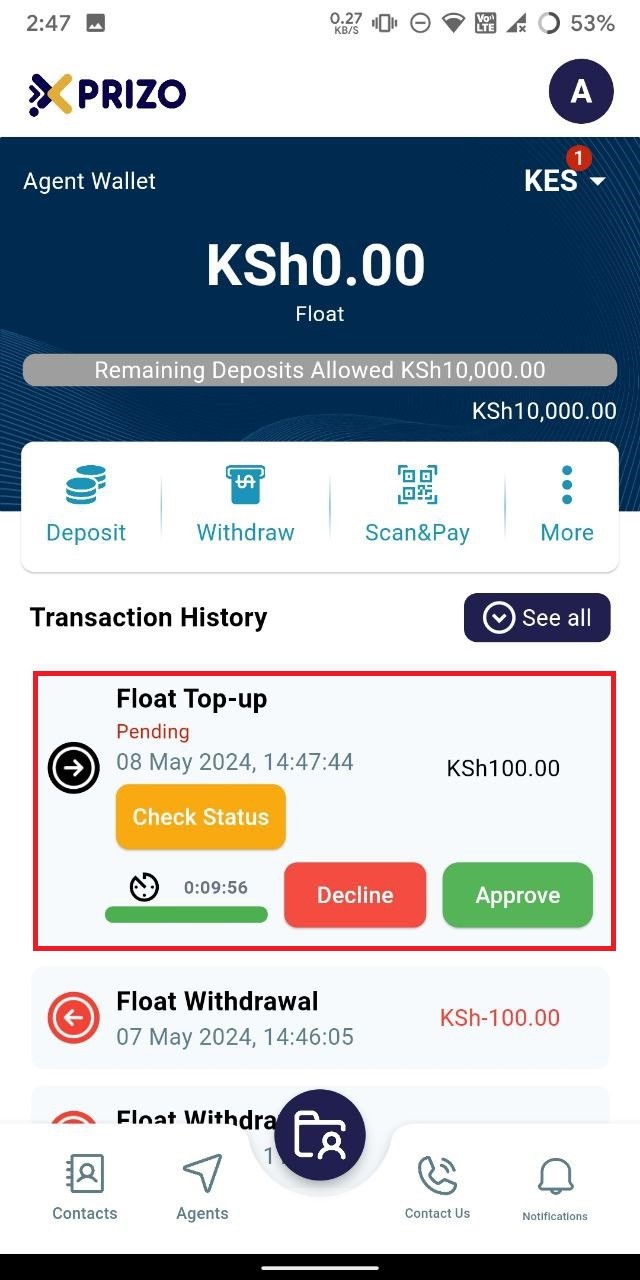
After initiating the top-up, you'll be directed to your agent wallet screen. There, you'll find the float top-up transaction listed in the recent transactions history. You can approve the transaction to add the physical money to your agent wallet or decline to cancel the process.
-
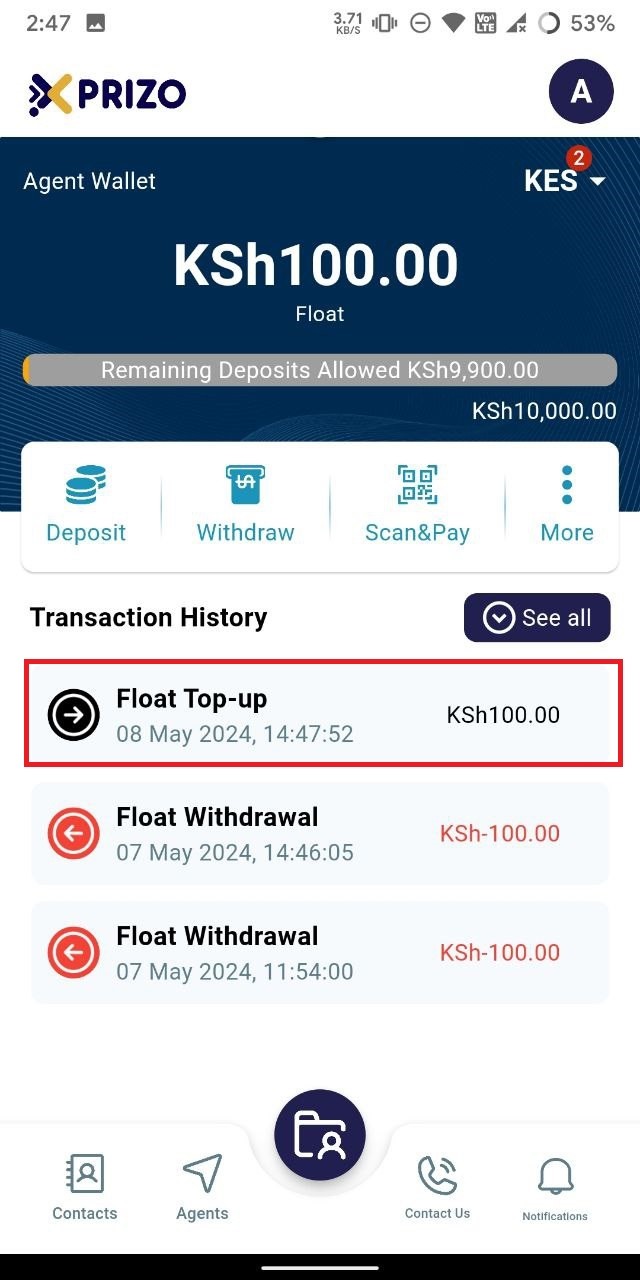
Upon approval, the agent wallet will be successfully topped up with the approved amount from the transaction.
-
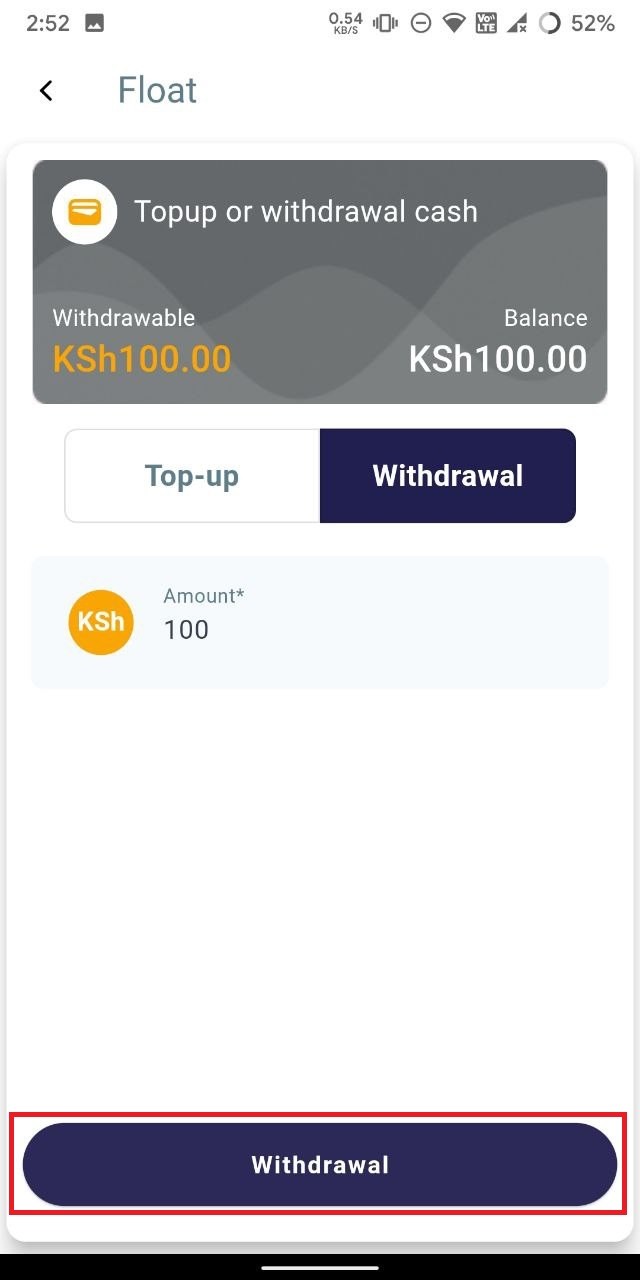
To initiate a withdrawal, tap on the "More" ellipsis button, select "Float," and then click on the "Withdrawal" tab to navigate to the withdrawal section.
-
Next, input the desired amount into the designated field, and proceed by clicking on the "Withdrawal" button to complete the withdrawal process.
-
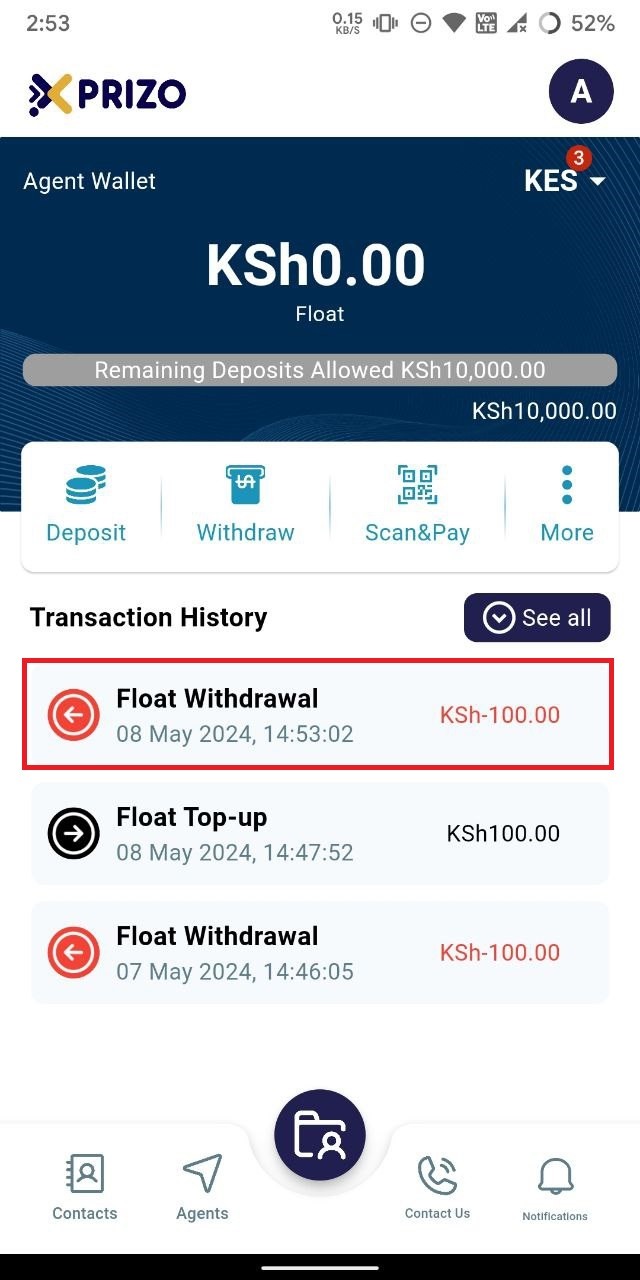
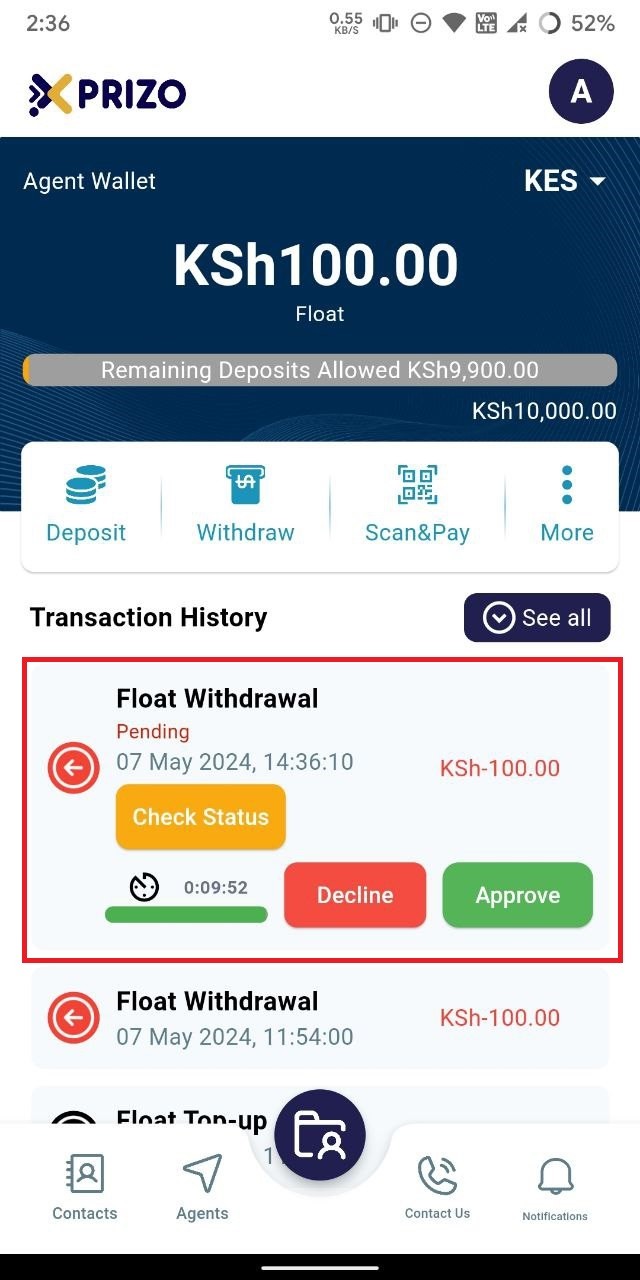
Upon initiating the withdrawal, you'll be directed to the agent wallet screen where a pending transaction will appear in your transaction history. To proceed, click "Approve" to confirm the transaction, or click "Decline" to discard it.
-
Upon approval, the specified amount will be deducted from the agent wallet, completing the withdrawal transaction utilizing the float.