KYC
-
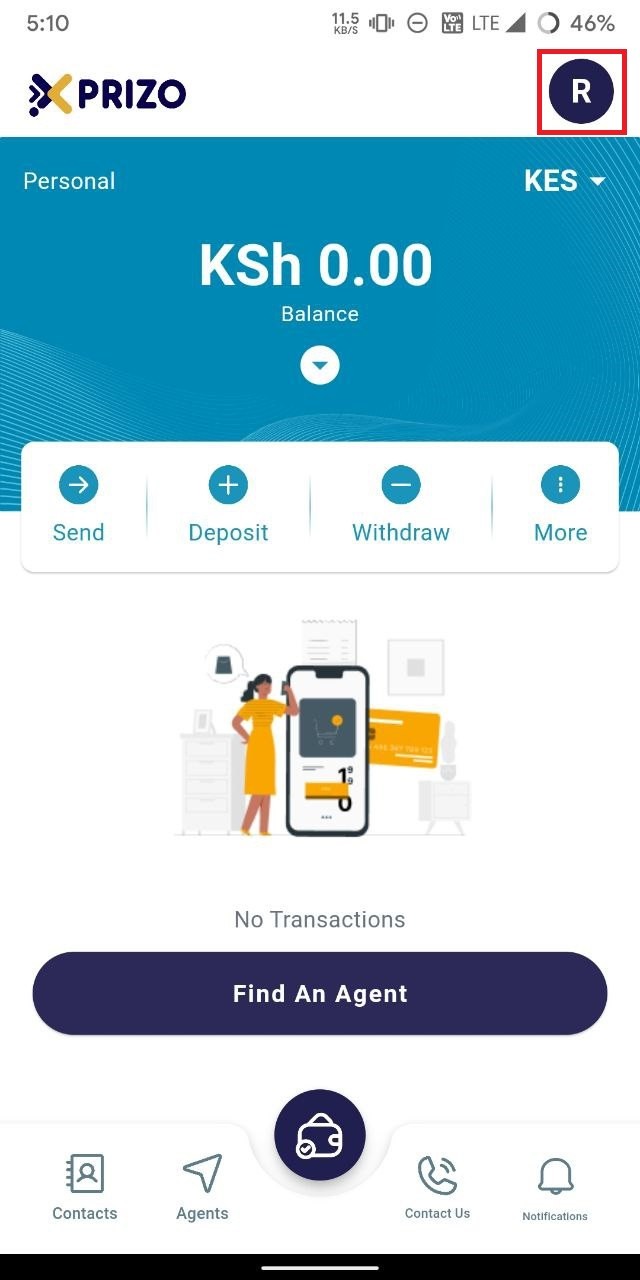
To finalize your KYC, access the account settings by clicking on the profile picture icon located at the top right corner.
-
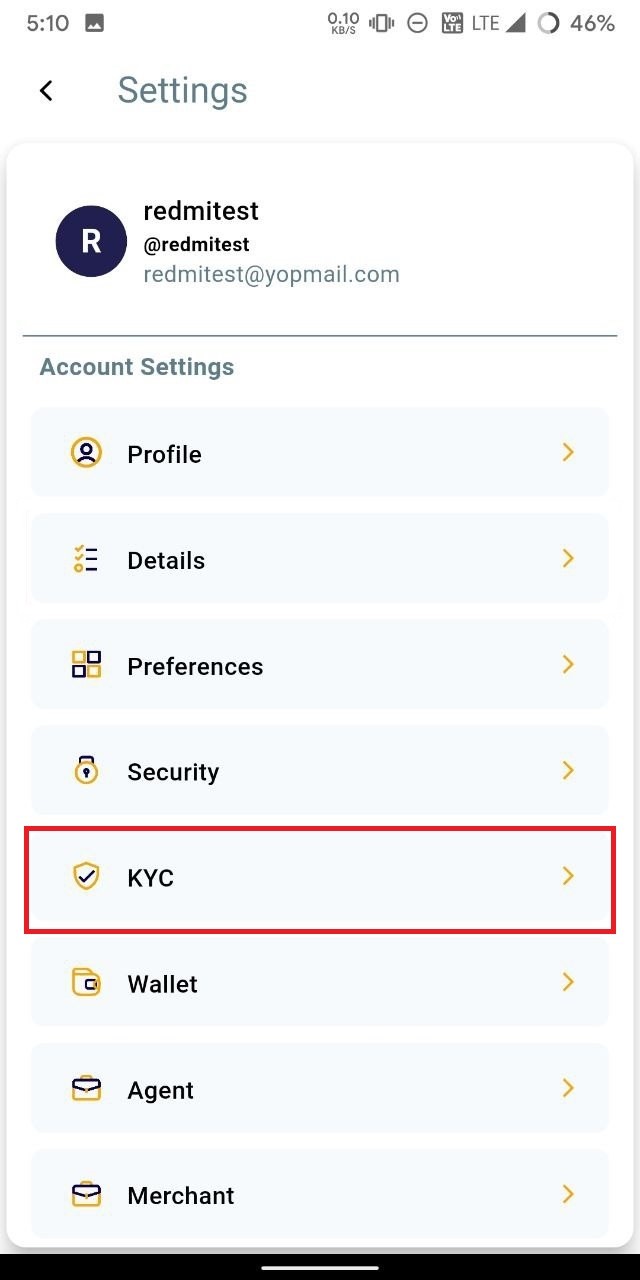
Click on "KYC" to access the KYC section within the profile.
-
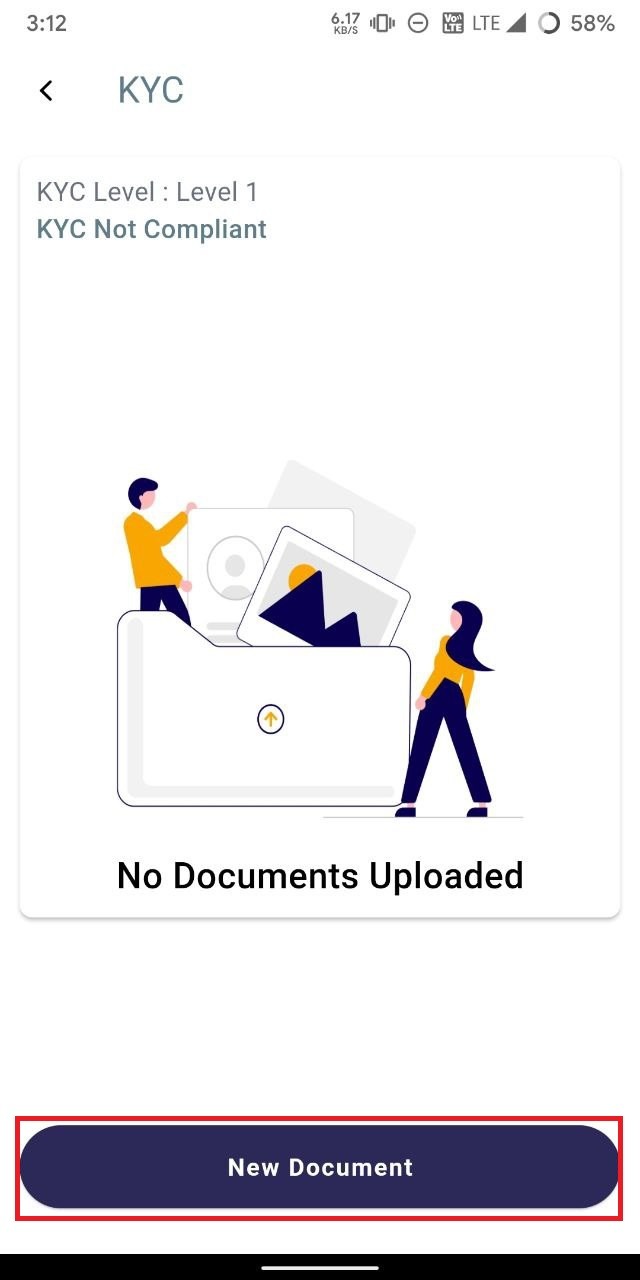
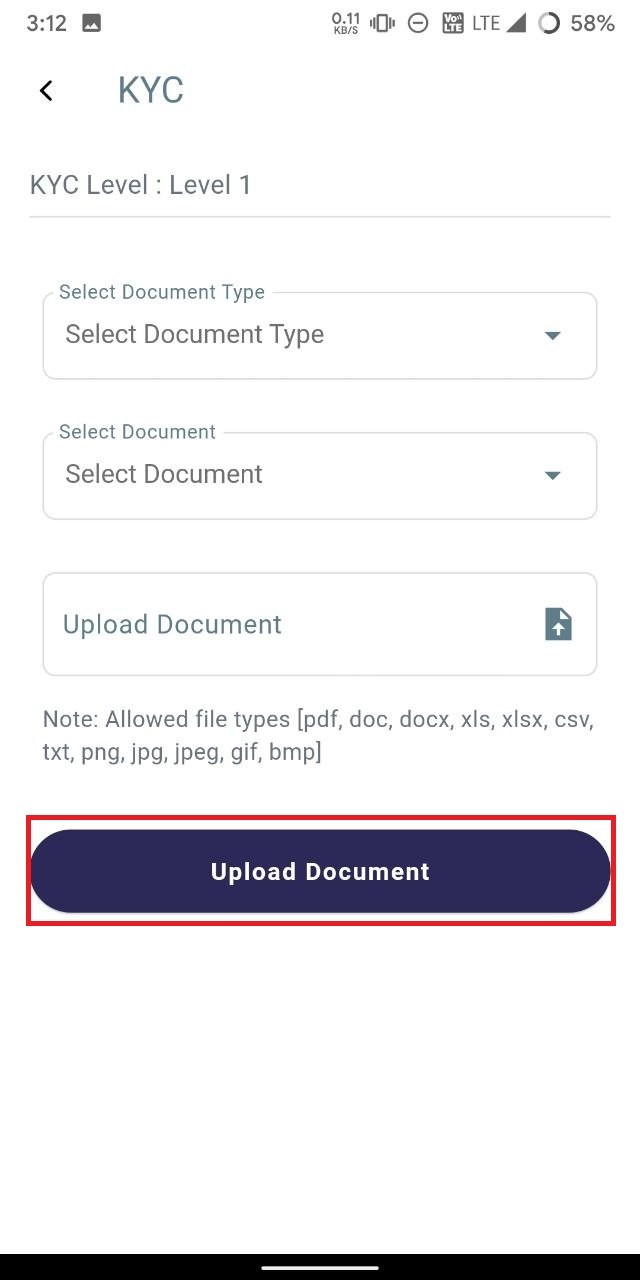
Initiate the KYC process by clicking on "New Document" and providing the required document details along with the necessary documents.
-
Next, select the document type and document, then upload the corresponding document file. Once done, click on the "Upload" button to submit the document for KYC approval.
-
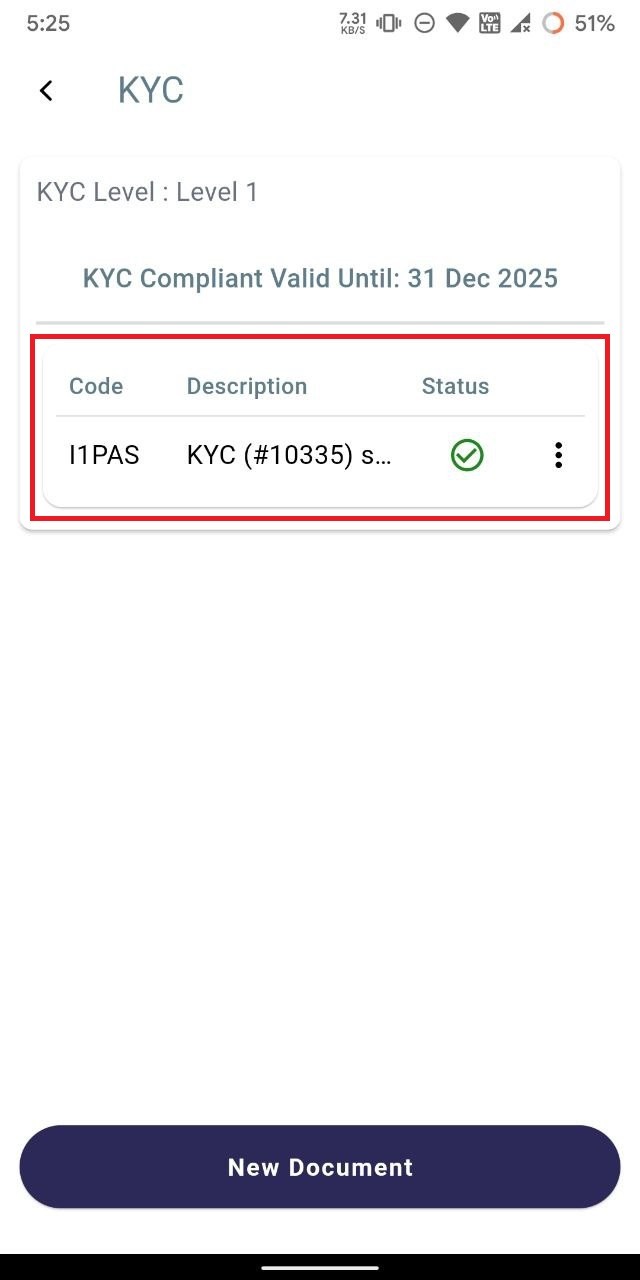
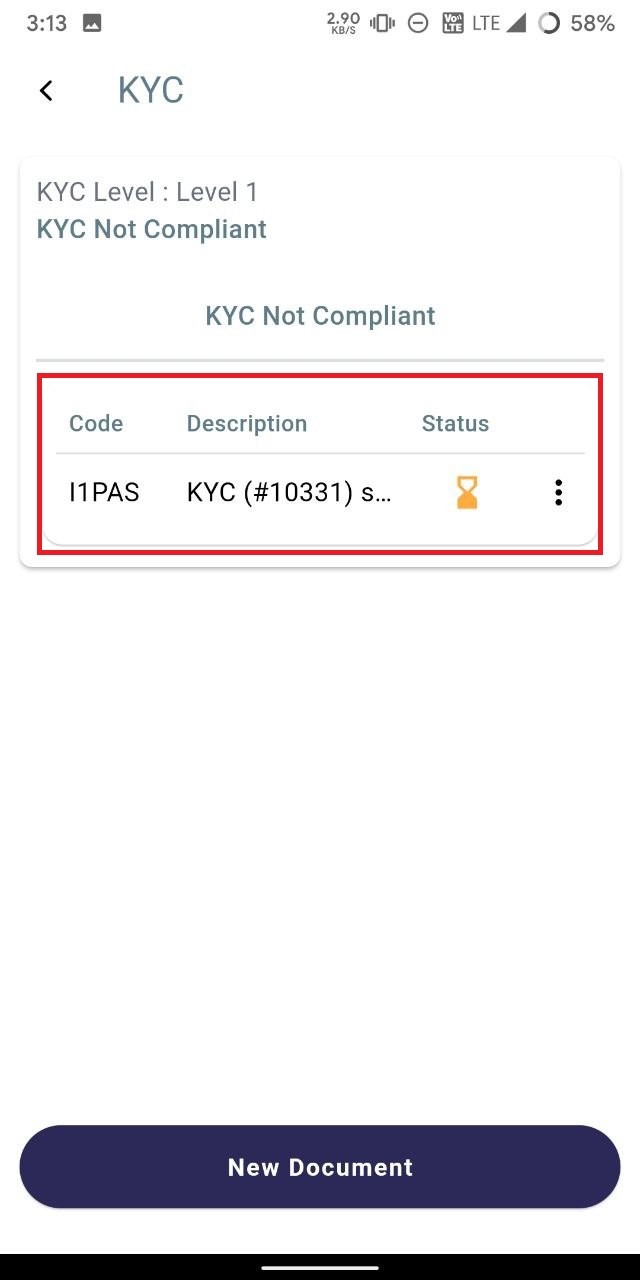
Upon uploading the document, it will be displayed with a "Pending" status.
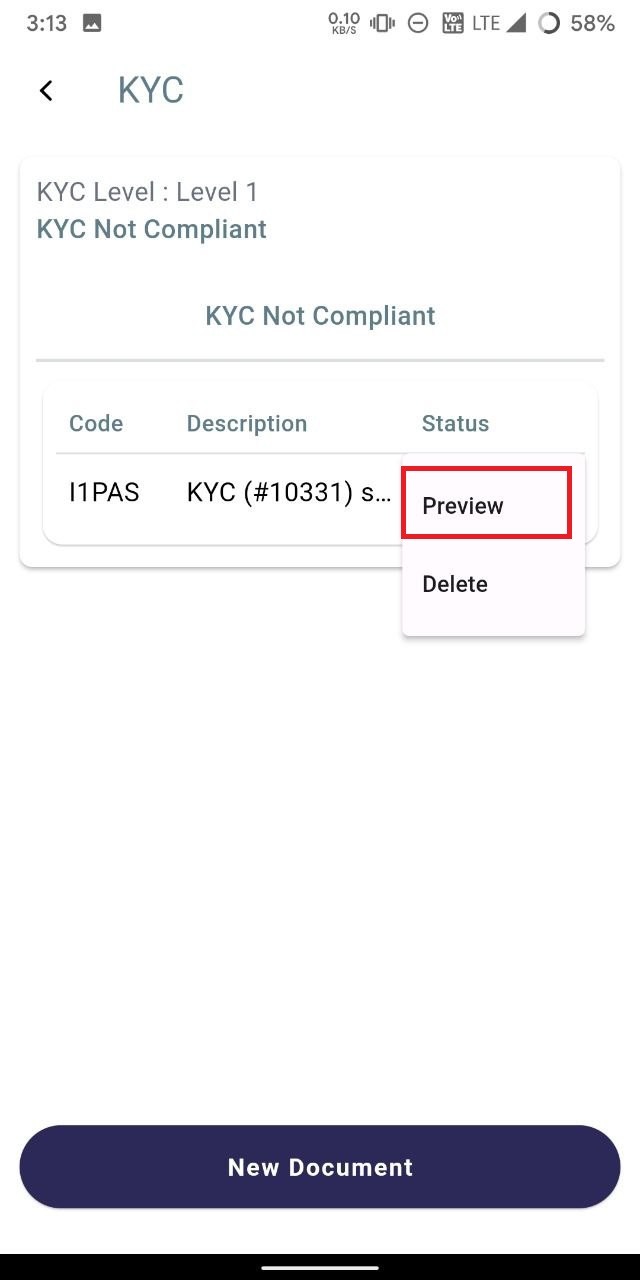
- Click on the ellipsis and select preview to preview the document uploaded.
-
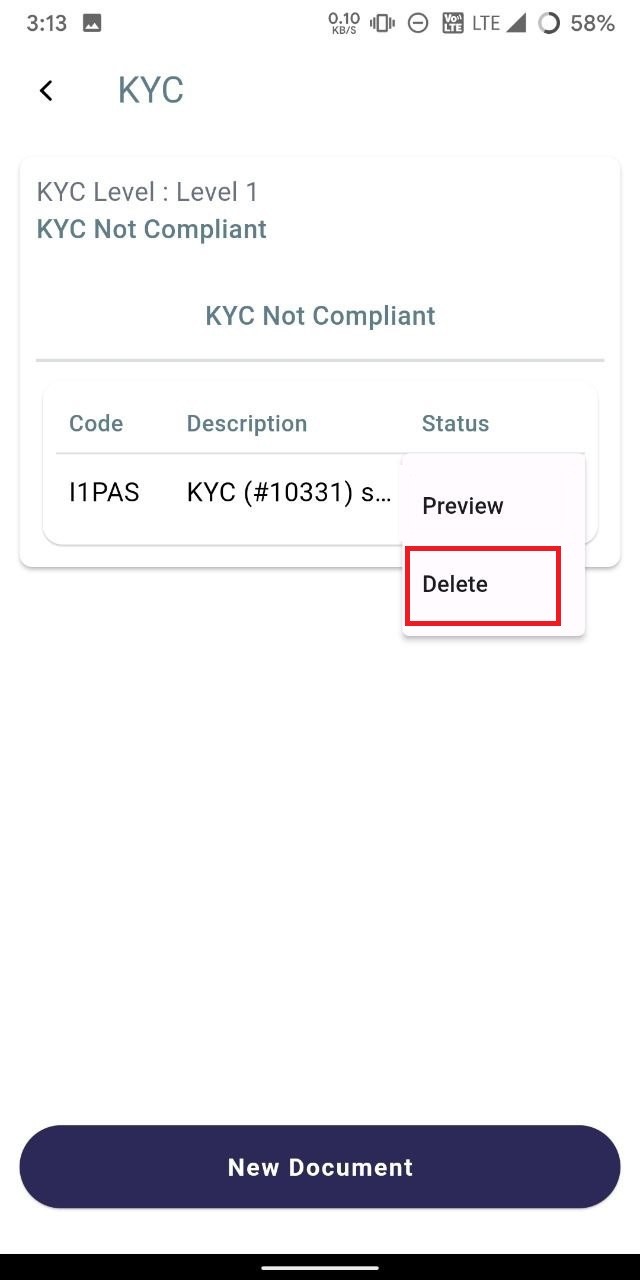
To delete the uploaded document, click on the ellipsis icon and select "delete" to remove the document.
-
Once the back office approves the KYC and the KYC documents, the status will change to "complete."