Xprizo Instant Payments (Payment Link)
Introduction
The Xprizo Instant Payments feature (or Payment Link) allows users to create a shareable payment link by entering the product amount. This link can be shared with both Xprizo and non-Xprizo users, enabling them to make payments via various cards. Additionally, a QR code is generated along with the link for easy transactions. When the link is shared with another user, the specified amount is directly added to that user's wallet, streamlining the payment process and ensuring funds are quickly and securely transferred.
How to create a Payment Link?
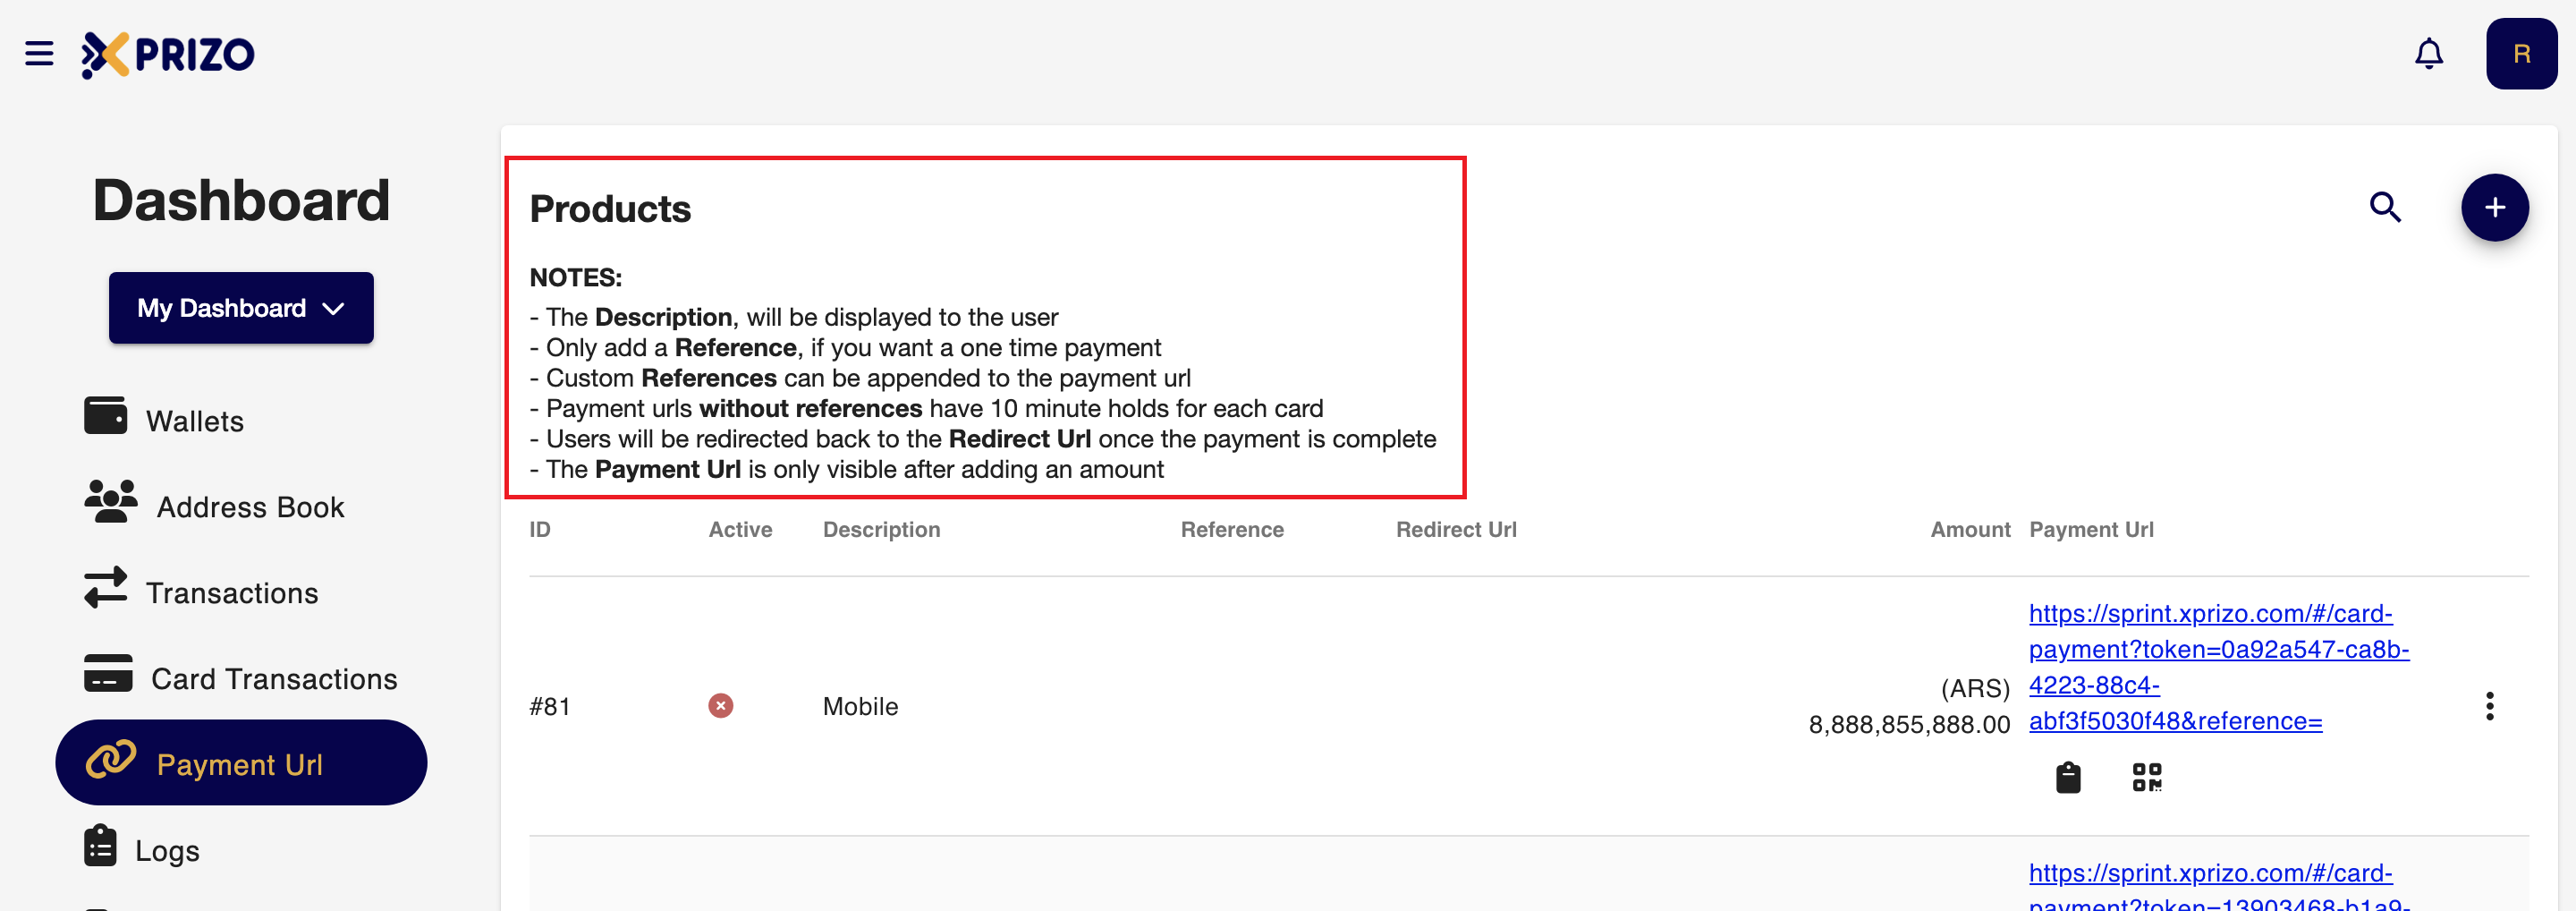
Follow the steps written in the image below to be able to create the Payment URL.
To receive the notifications for the payment you've received through webhook then you can set this by navigating to the settings of your profile page this process will be done from the UI side, For reference click on the link below.
To perform the same process with the help of API click on the below link for the reference.
Creating a Payment Link via the Xprizo Wallet API
Add a Product
First, you need to add a product by calling the /Item/AddProduct endpoint:
- set description, ex: "Test Product";
- set currencyCode, ex: "USD";
- set amount, ex: "25.00";
- set reference to some unique ID which will identify the transaction from your end; you can set a GUID/UUID here.
List the Products you have added in the Xprizo Platform
To get the list of products, call the /Item/ProductList endpoint:
- For each product in the response, note “id”.
Get a payment link using the Xprizo API
To generate a payment link for a product purchase:
- Call the /Item/SetProductRedirectUrl endpoint,
- set the “id” query param to the id you got from the response of the /Item/ProductList endpoint;
- set “value” query param to a URL to which user will be redirected on completion of the payment.
- Call the /Item/GetProduct endpoint,
- in the “id” path variable, set the id you got from the response of the /Item/ProductList endpoint;
- “paymentUrl” in the response is the payment link which the user must click to proceed to the payment.
To complete the payment flow, the user must enter their card details, and click “Proceed to Pay”.
- Once the payment is completed, the user will be redirected to the URL previously set in the call to the /Item/SetProductRedirectUrl endpoint.