How to become a Merchant?
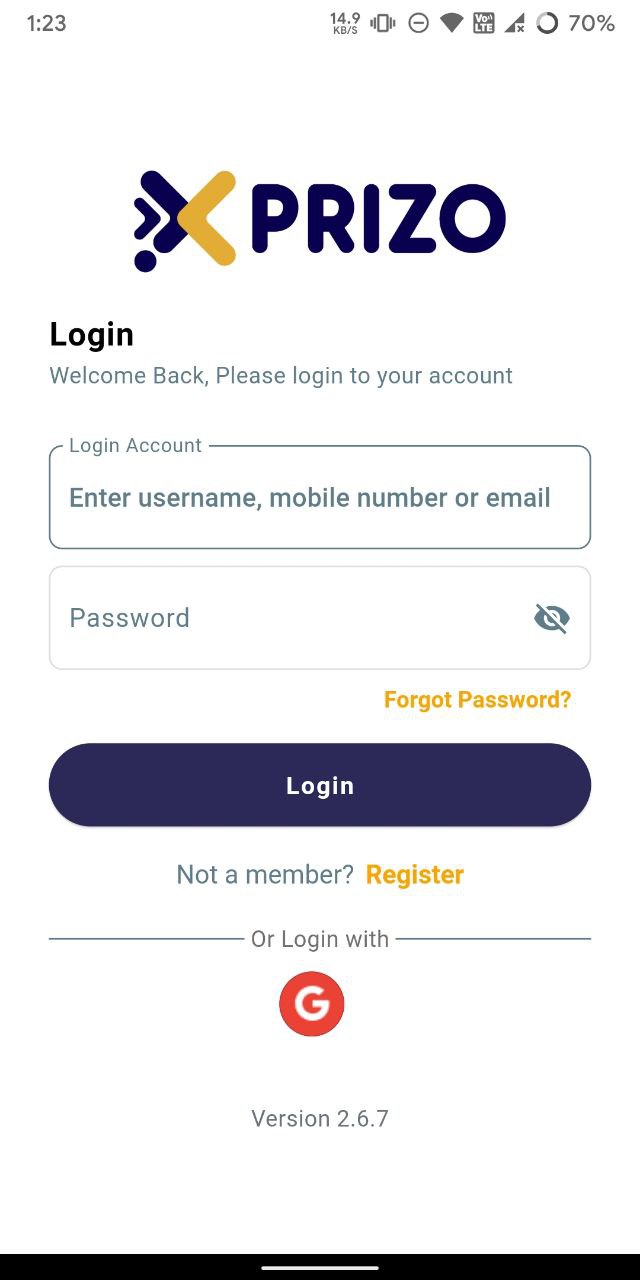
1. Login
Sign in to your Xprizo account using your login credentials, then click on your profile initial icon to access your account settings.
To engage in transactional activities or manage funds, you must have a wallet integrated into your profile. Once added, transactions can be securely conducted directly from the user's account. To learn how to add a wallet, follow the provided link for step-by-step instructions.
3. Add User Details
To initiate a merchant request to the back office, start by completing your profile details. This includes providing your name and address information. Refer to the provided link for a step-by-step guide on how to fill out your user details.
4. Complete KYC
The next crucial step is to ensure KYC compliance by completing your KYC details. This involves uploading necessary documents for KYC verification, which will be reviewed by the back office. Upon approval, you will achieve KYC compliance status. Follow the steps outlined in the provided link for a comprehensive guide on completing the KYC process.
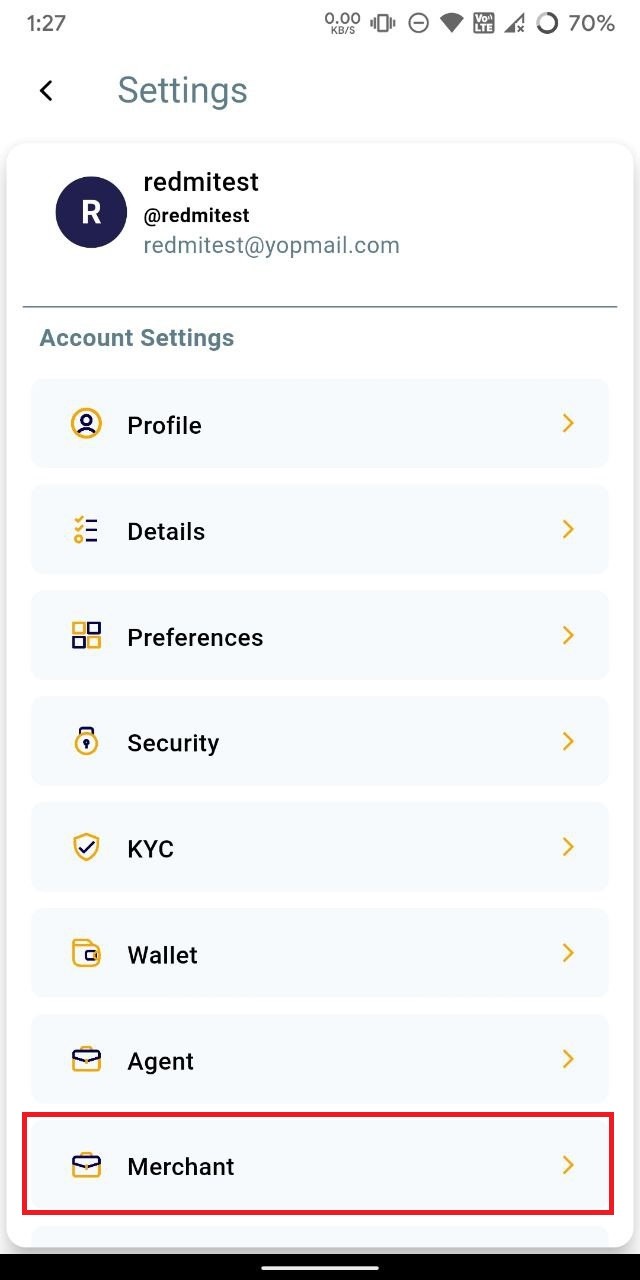
5. Send Merchant Request
- Click on the Merchant tab within the account settings to access the Merchant settings.
- Click the "Send Merchant Request" button to submit a request to the back office to become a merchant.
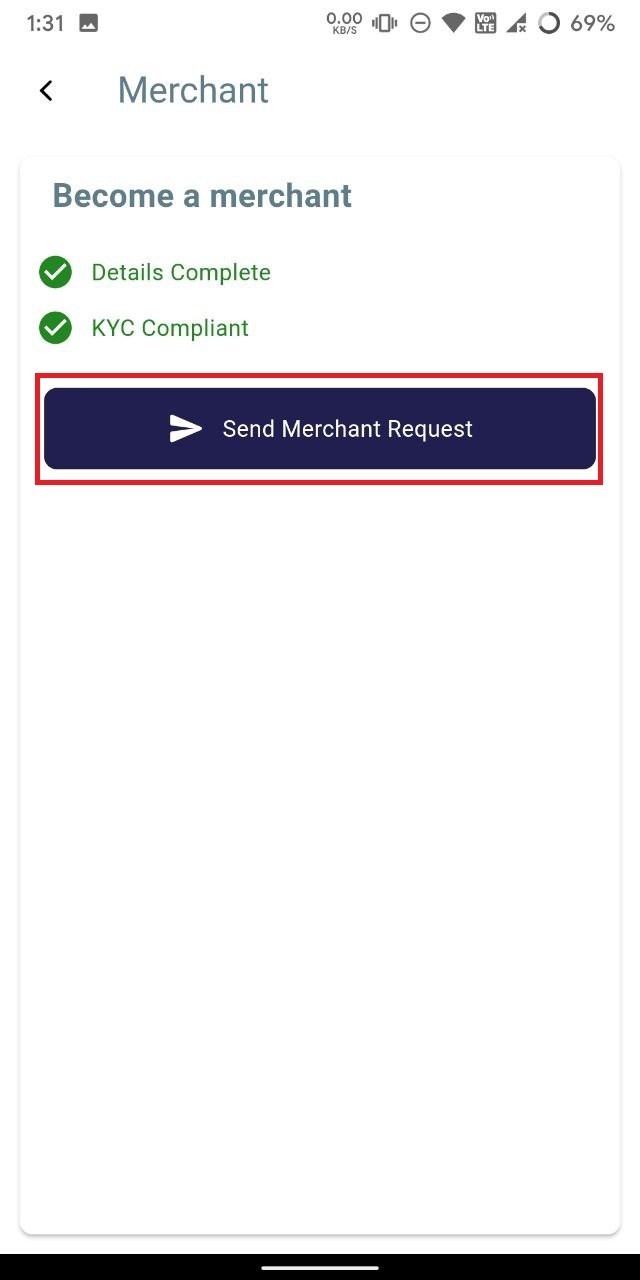
- Upon approval from the back office, your request to become a merchant will be processed, and you will be assigned the role of a Merchant.